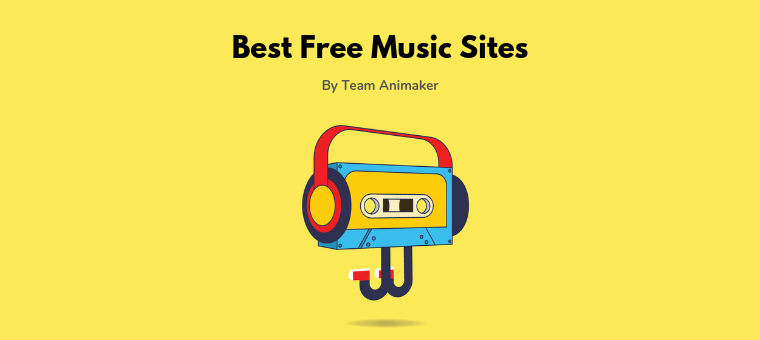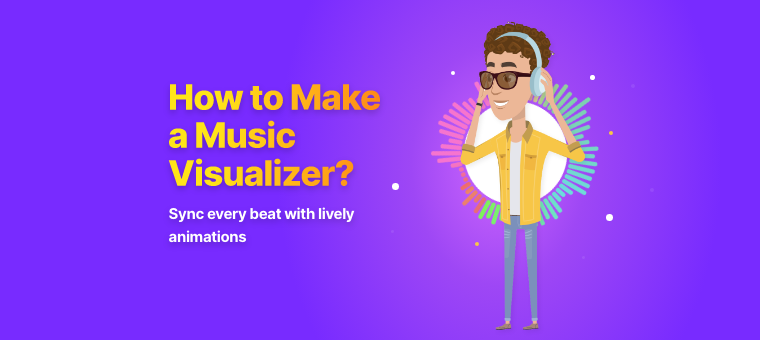
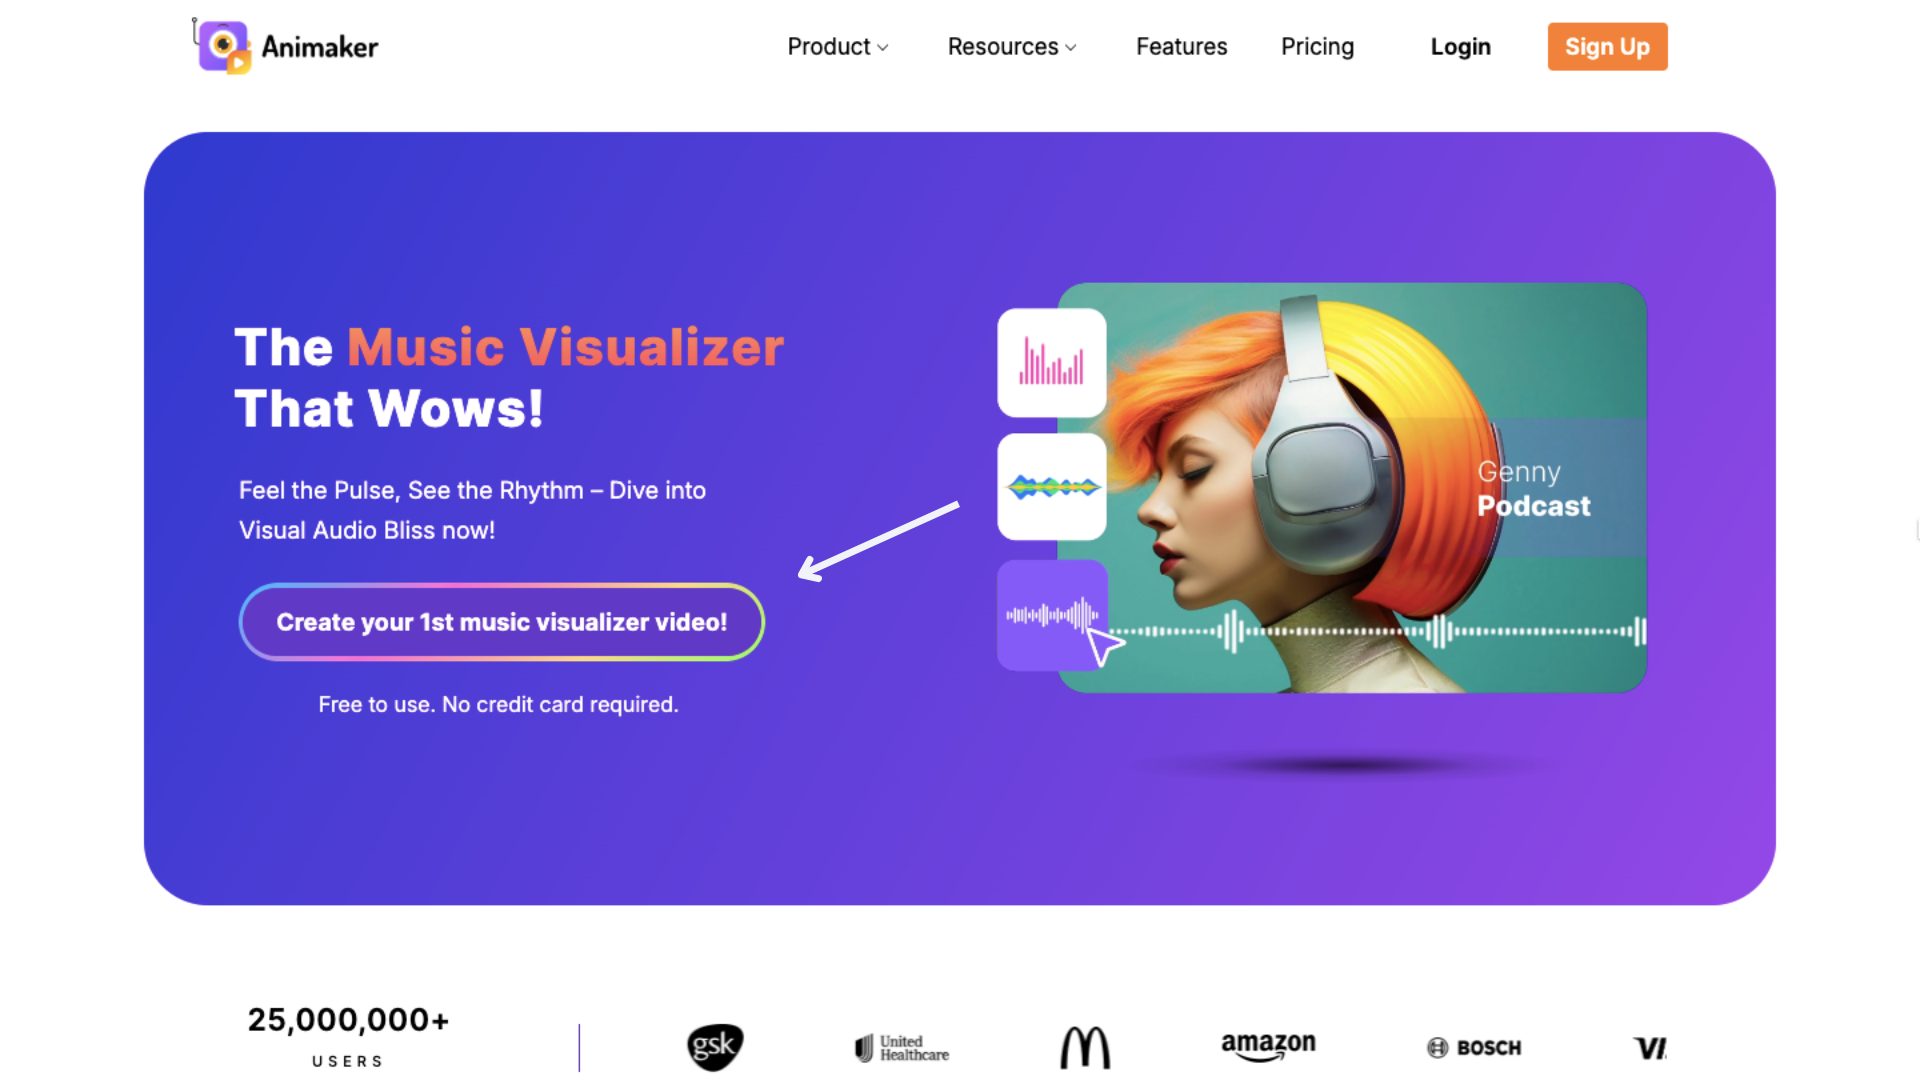
How to Make a Music Visualizer with Animation Effects?

Shreshtra - February 21, 2025 - Leave your thoughts. 12 min read
Have you ever listened to a song and thought, "Wow, I wish I could see this music"?
Well, you’re not alone.
Step into the world of music visualizers - a cool, eye-catching way to turn sound into visuals that dance, pulse, and flow in perfect harmony with your favorite tracks.
Now, you might be thinking, “That sounds way too complicated for me. I can barely figure out how to make a simple GIF.”
Well, fear not! Thanks to online tools like Animaker’s Music Visualizer, creating a music visualizer is easier than you think!
We'll show you exactly how to make a music visualizer step-by-step!
By the end of this guide, you’ll be the proud creator of a visual masterpiece, with everyone saying, “How’d you do that?!”
So let’s get started!
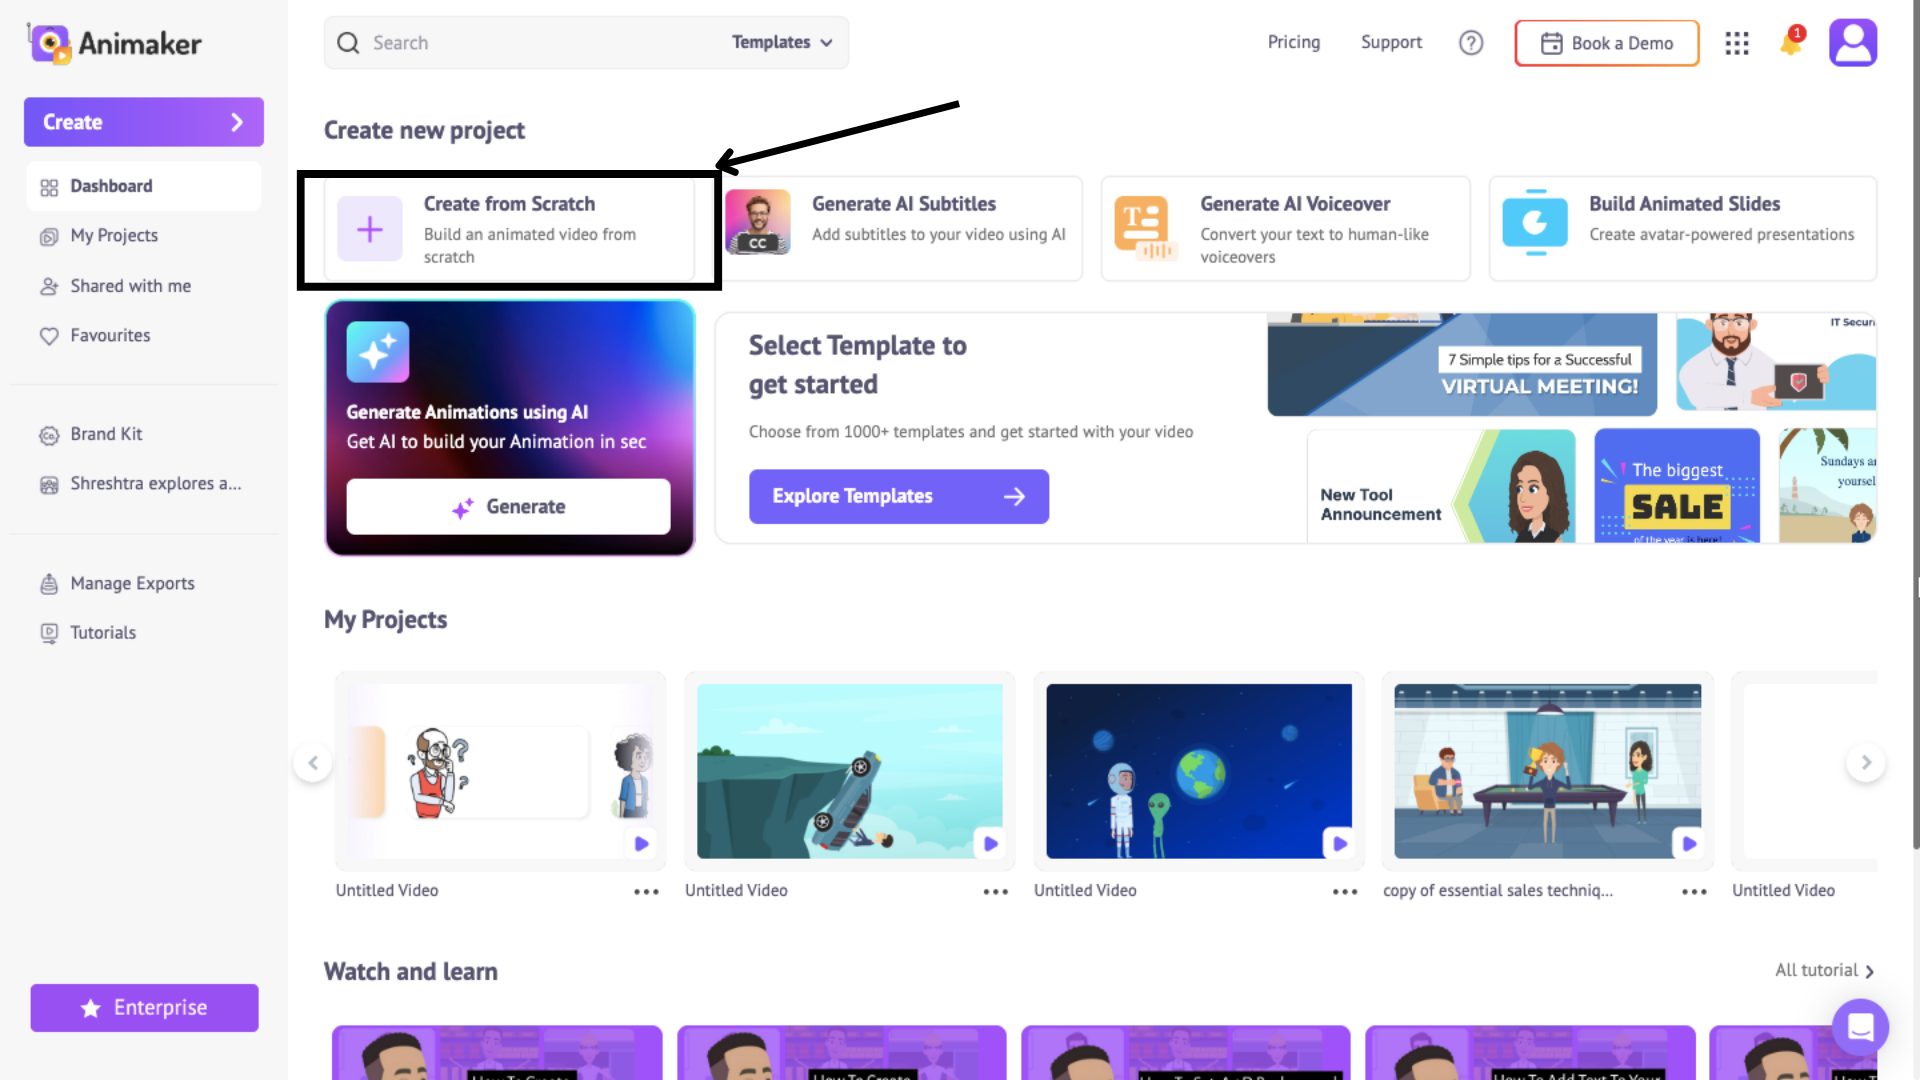
The first thing to do is head to the Animaker’s Music Visualizer and create an account.
Now, you'll be taken to Animaker’s dashboard, where you can easily access your projects, browse video tutorials, explore templates, or even start creating a video from scratch.
From these many options, click on the Create from Scratch button.
This will open a pop-up box where you can select from two animation styles and various aspect ratios.
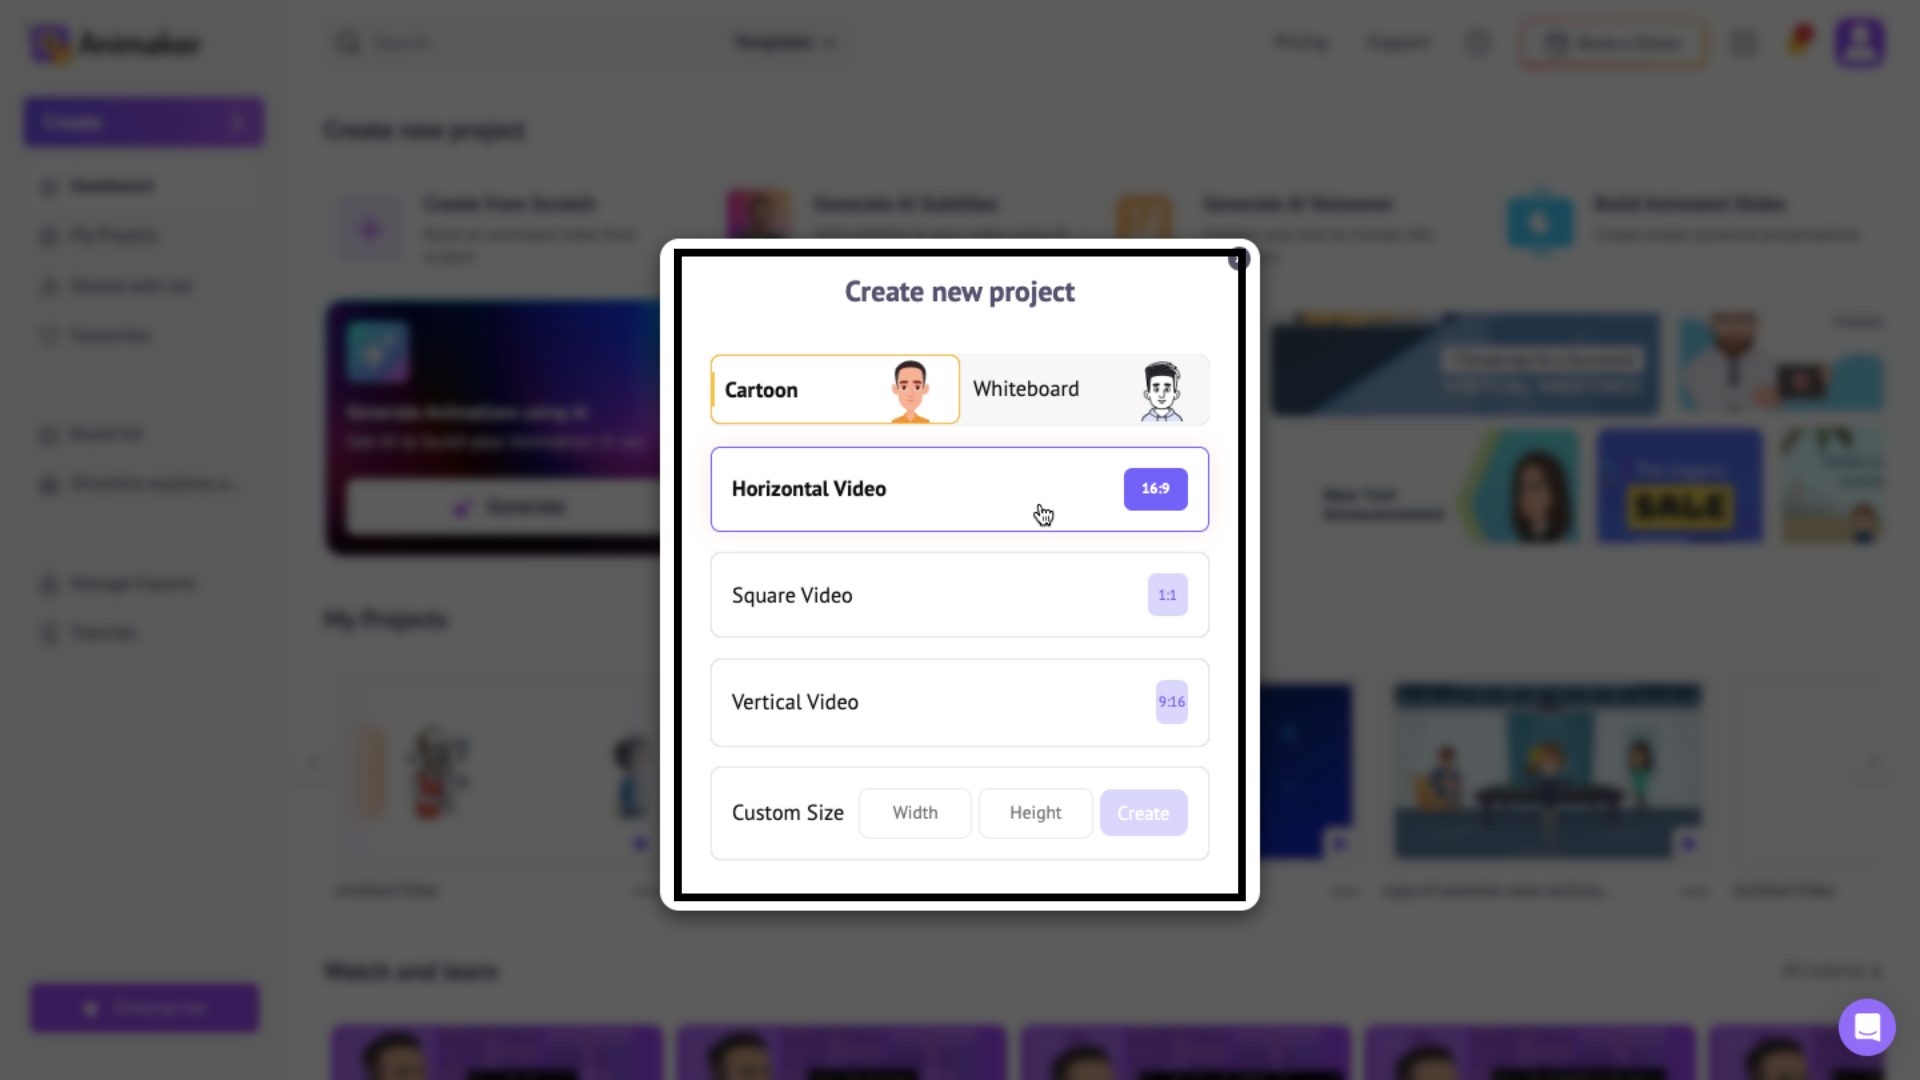
Since the music visualizer relies on the cartoon style, be sure to select that option and then pick your desired aspect ratio.
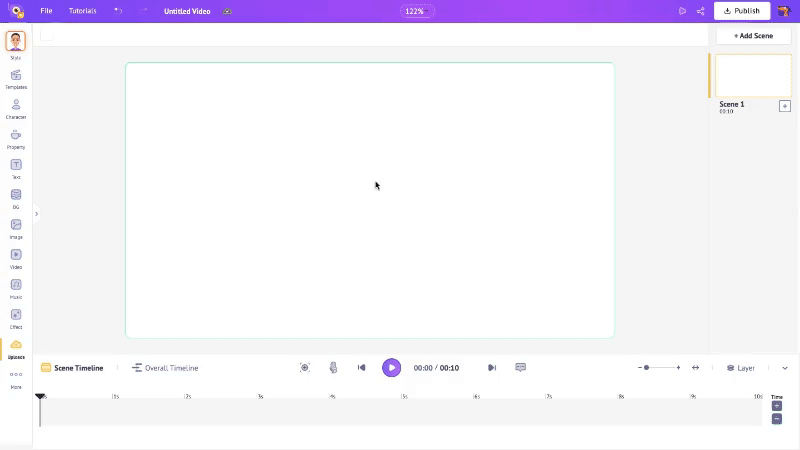
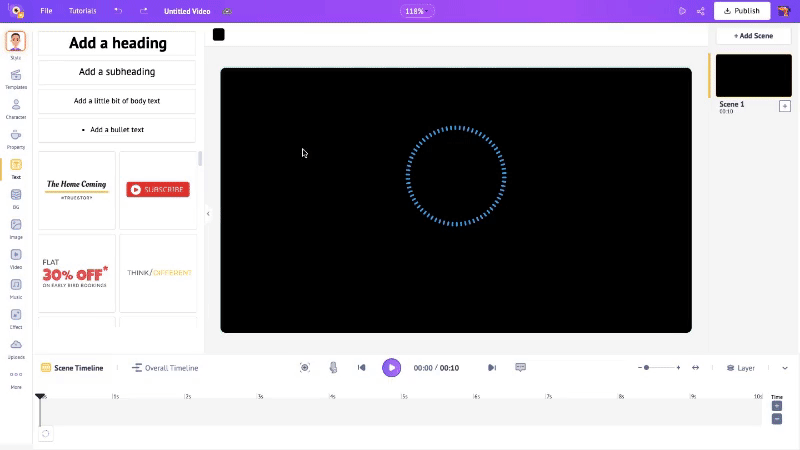
Once you’ve made your selections, the blank project window opens.
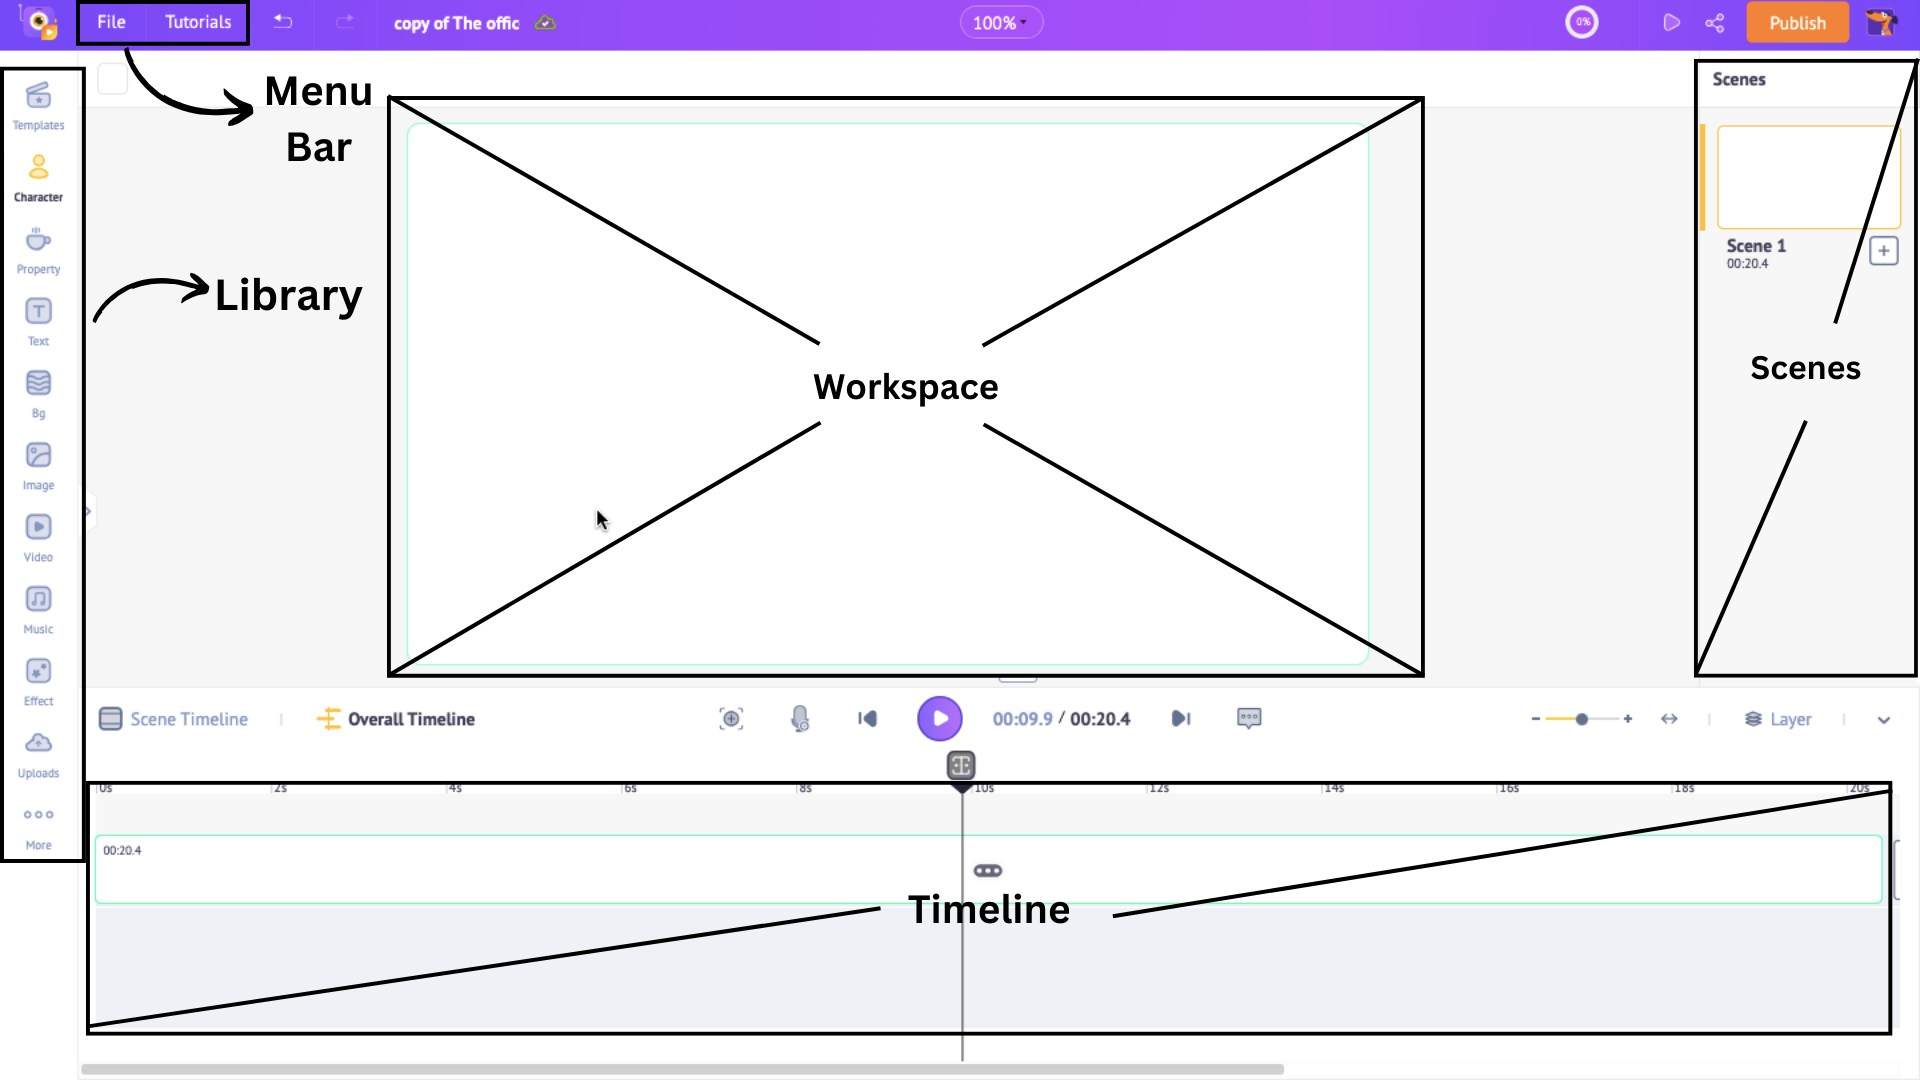
The workspace at the center is for creating and editing your video. The scenes section is on the right for managing scenes, while the library on the left offers millions of assets.
Above the workspace is a menu bar for tools, and the timeline at the bottom lets you adjust your video precisely.
With the steps below, we will learn how to make a music visualizer.
Let’s dive in!
How to make a Music Visualizer with Animaker?
1. Upload Your Music Track
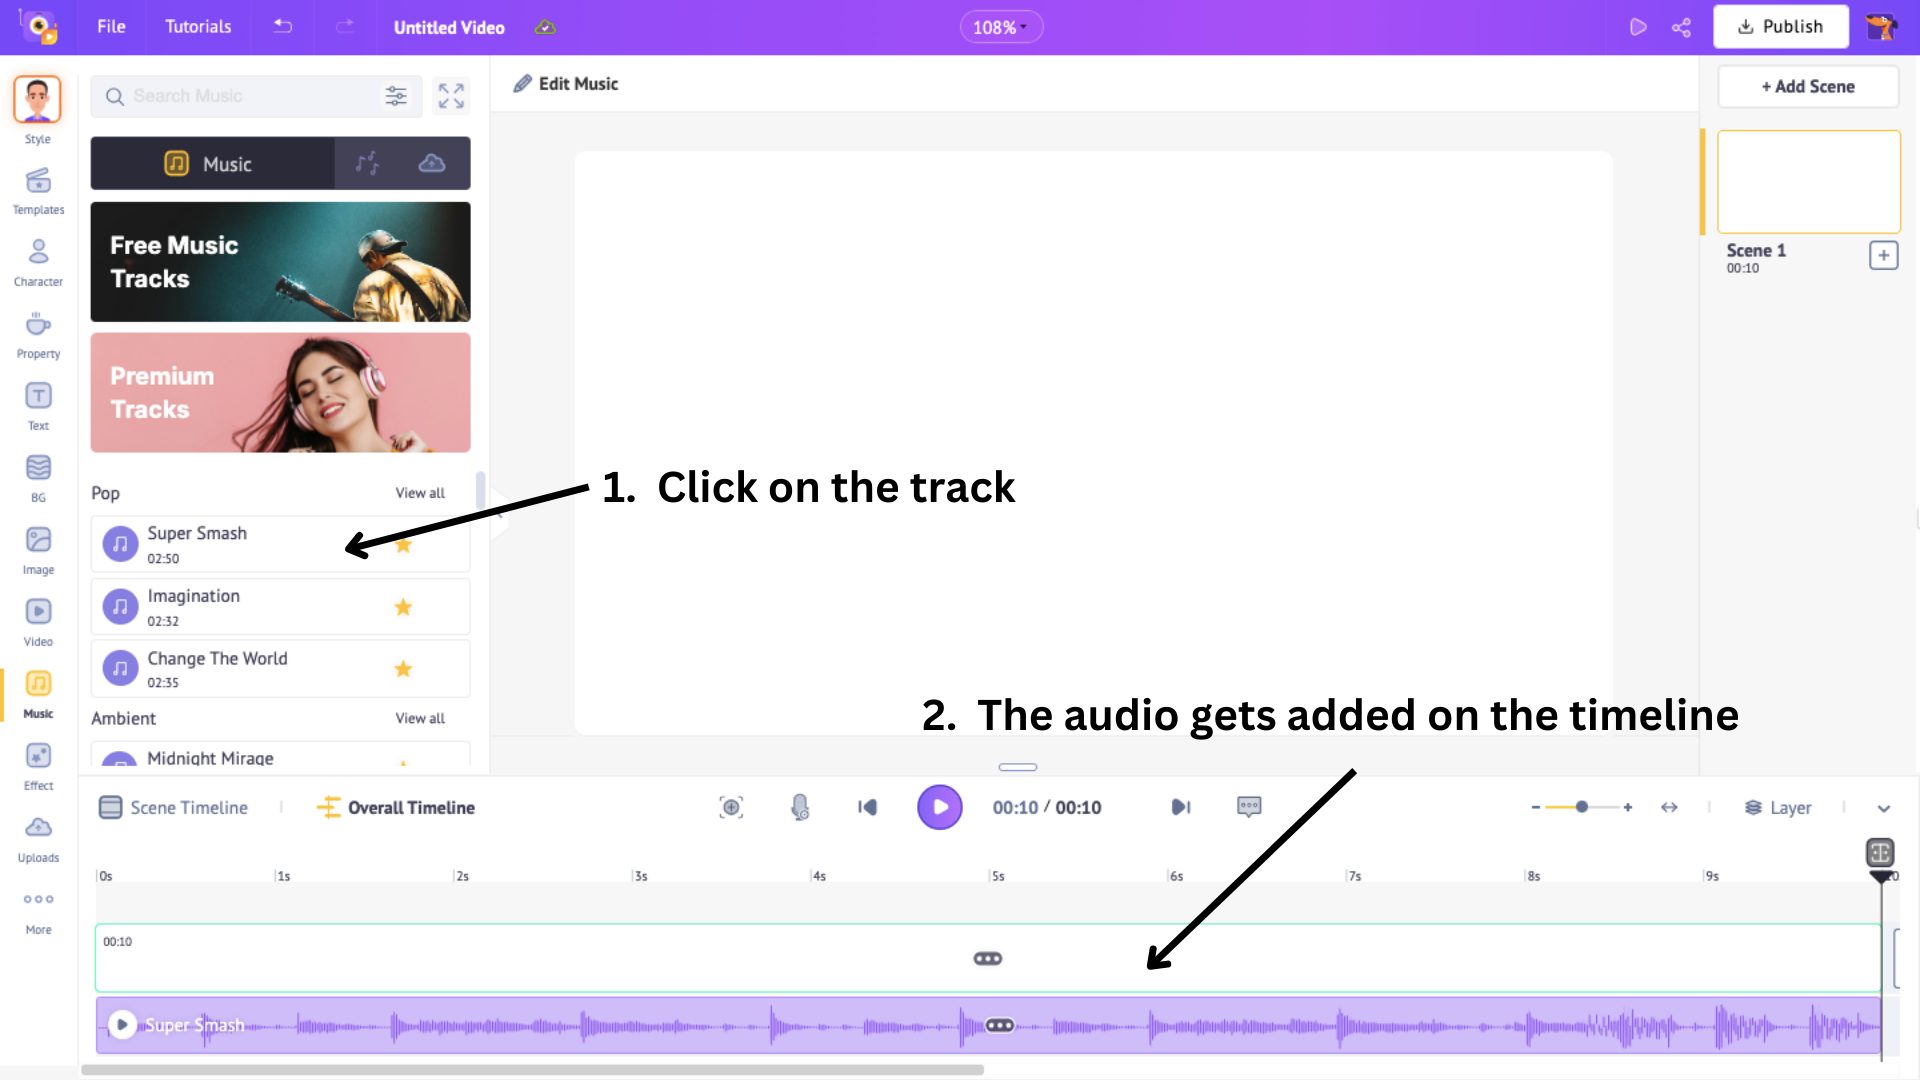
The key step in creating a music visualizer is uploading the audio/video you want to use.
To do this, click on Uploads in the library, then hit the Upload button to select your audio/video file from your device. Once uploaded, your file will be added to the library and ready for use.
Click on the uploaded file to add it to your project.
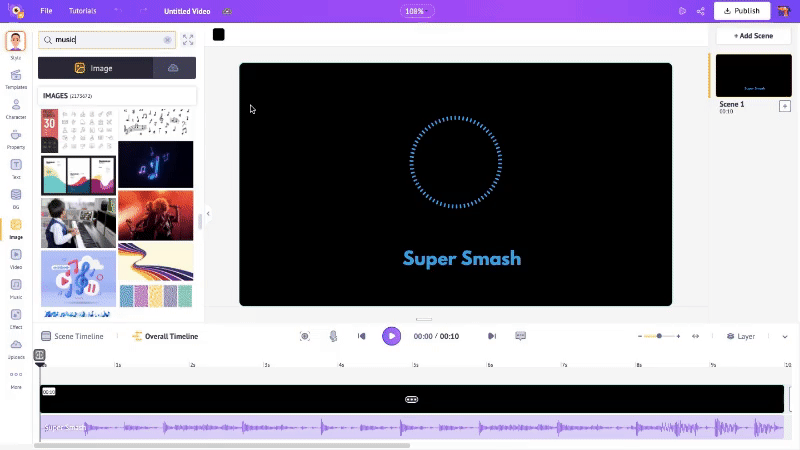
Or, you can explore Animaker’s music library, which offers 30K+ copyright-free tracks. For this example, I’ve chosen a pop track from the library.
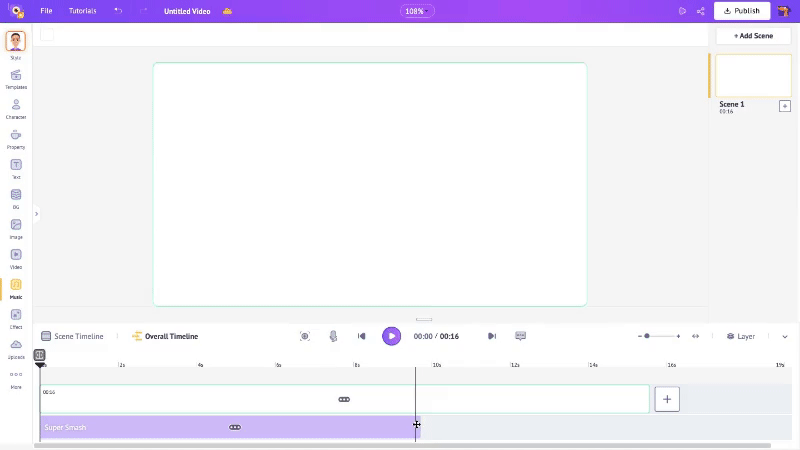
Once added, you’ll see the track appear instantly in the overall timeline.
However, since each scene’s default duration is 10 seconds, the audio will initially be trimmed to fit the first 10 seconds. But don’t worry—this is easy to fix!
First, zoom out the timeline for better control. Then, extend the scene’s duration to match the full length of the track in the overall timeline.
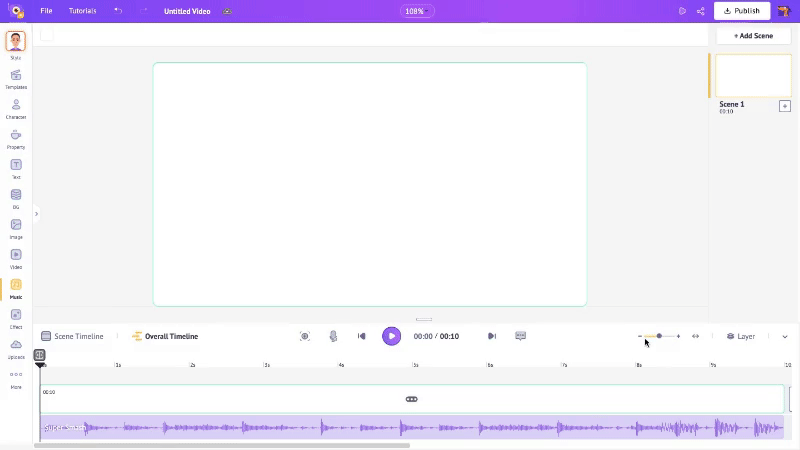
Even after adjusting the scene’s duration, you’ll notice the audio section in the overall timeline still ends at 10 seconds.
Simply grab the end of the audio section and drag it until it matches the scene’s full duration.
Quick tip:
If you want to trim the audio to a specific portion, here’s how:
First, hit the Play button to identify the desired section of the audio. Then, drag either end of the audio section in the timeline to adjust its length as needed.
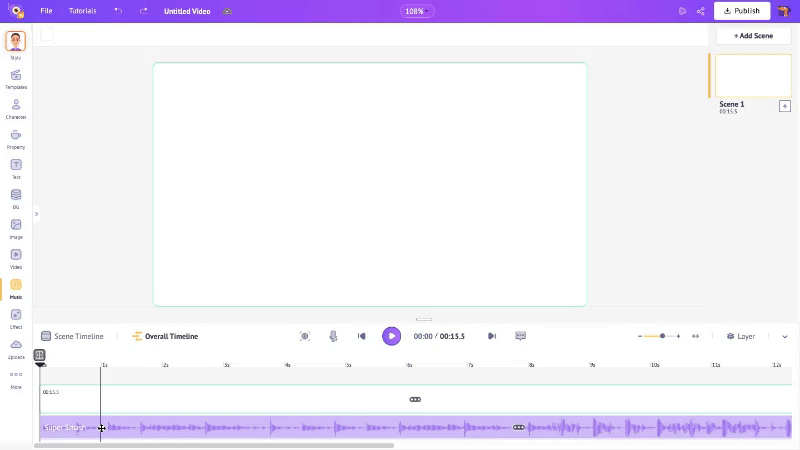
You’ll see the audio is now trimmed to the selected portion. This is especially useful if you’re creating an audio playlist or a compilation of TikTok sounds!
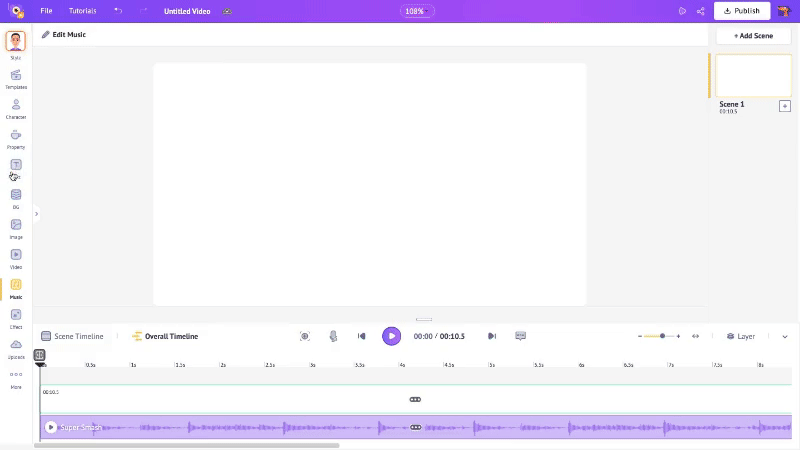
Now that we've got the audio set, let’s move on to creating the visualizer!
2. Choose a Visualizer
Animaker offers a fantastic selection of visualizers to choose from.
To explore them, click on the Property icon in the library, and you’ll see a list of available visualizers. Click View All to expand the options.
Pick one that matches the vibe of your audio - whether it’s a pulsating waveform or a dynamic geometric pattern, there’s something to fit every mood.
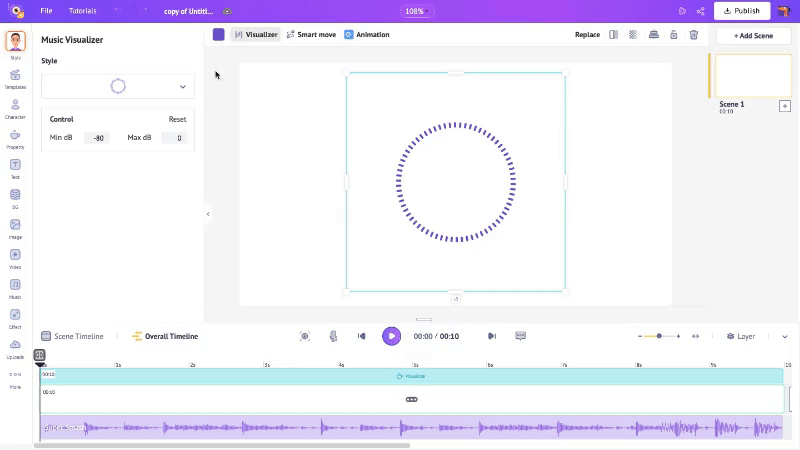
After adding the visualizer, hit the Play button to preview how it looks so far.
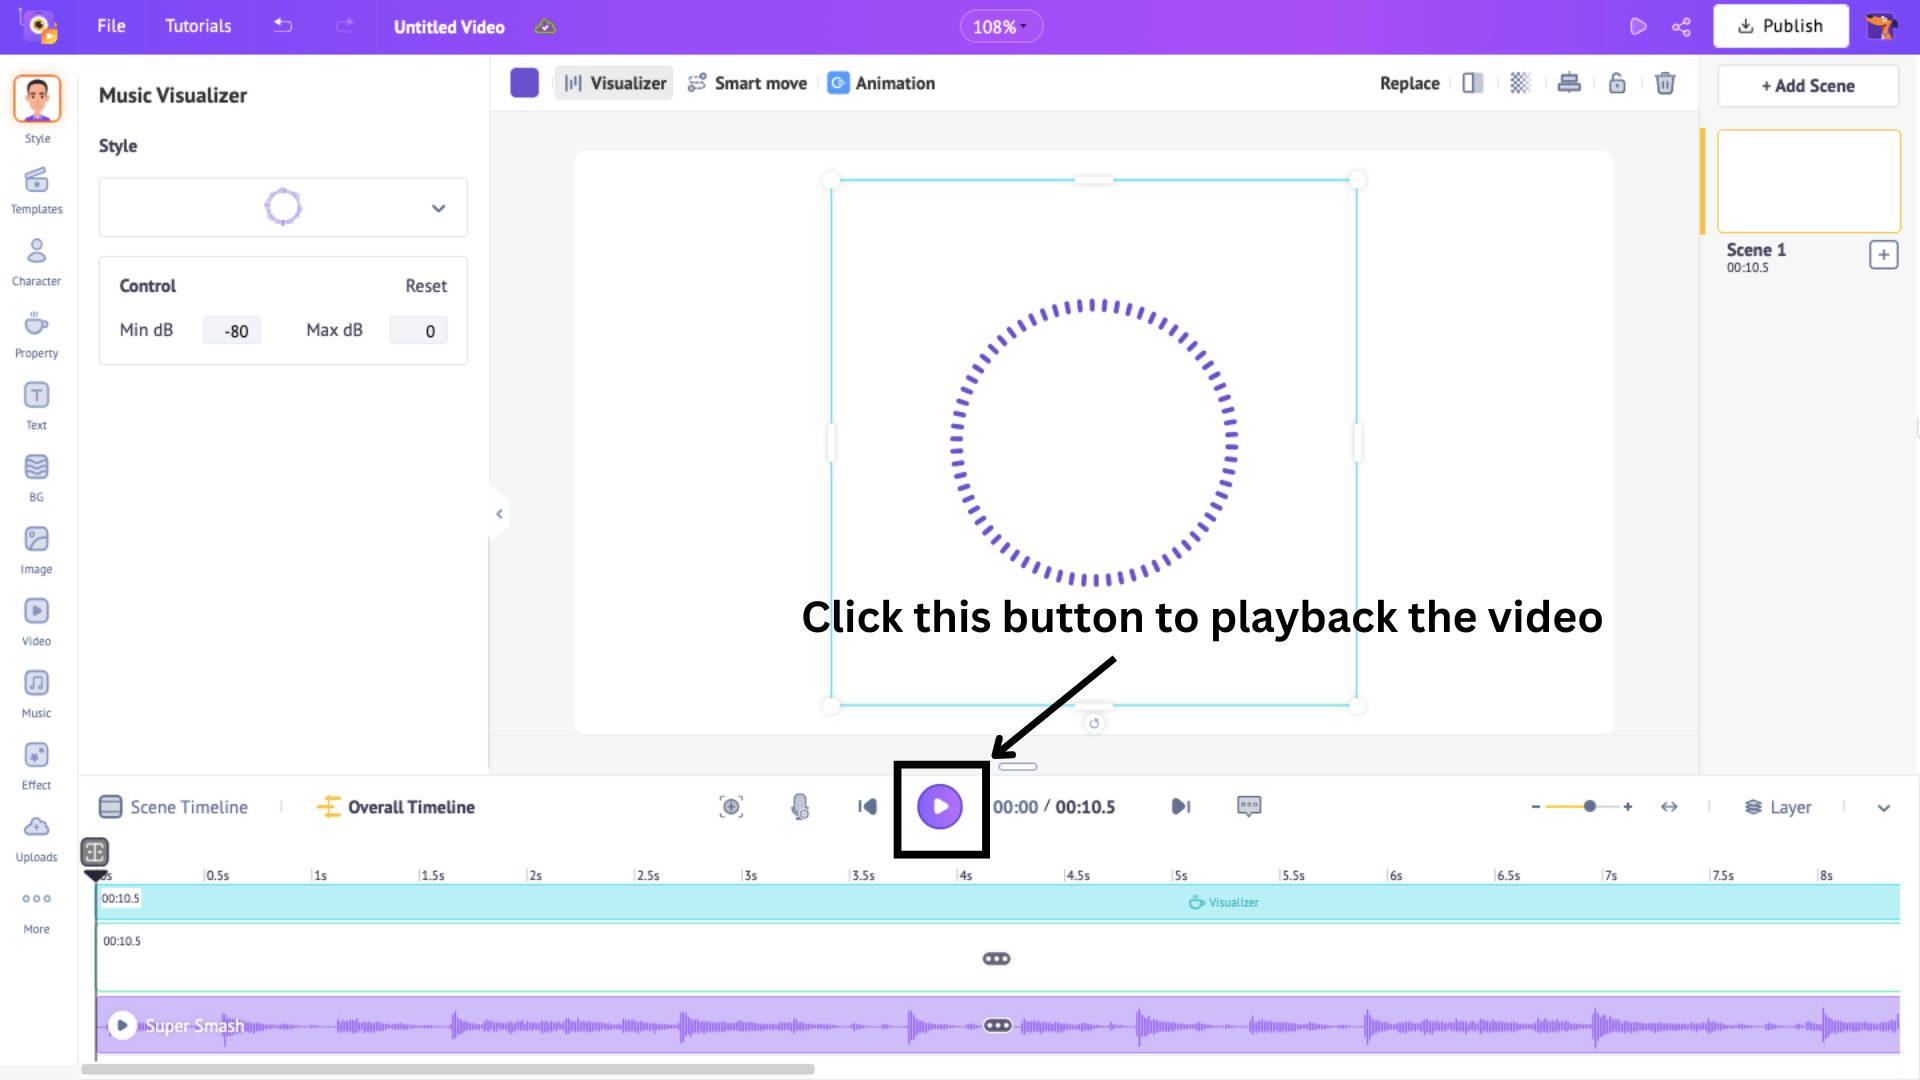
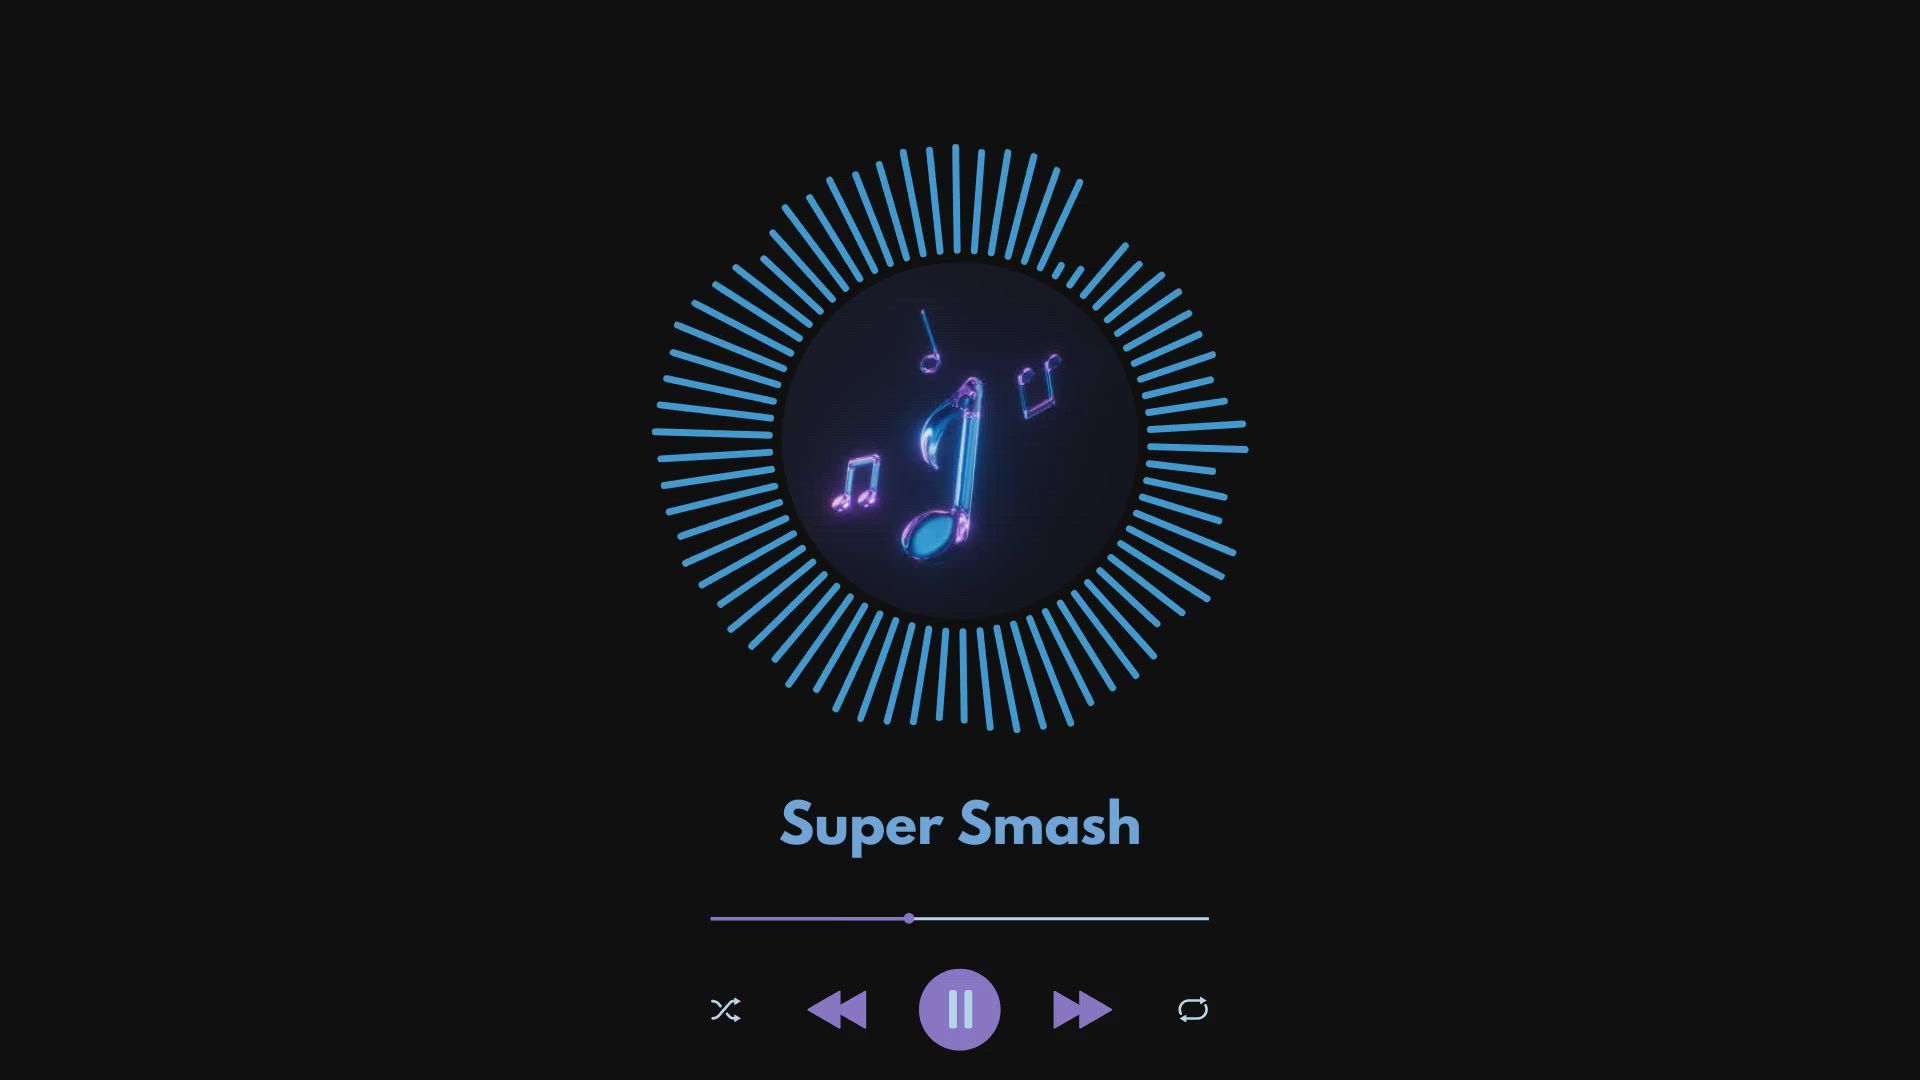
This is the sample video of the visualizer I used in my example, which is automatically synchronized with the audio I added.

You will see that the visualizer perfectly syncs with your audio!
The panel on the side has editing options where you can also change the visualizer style and adjust the minimum and maximum decibel levels of the visualizer lines.
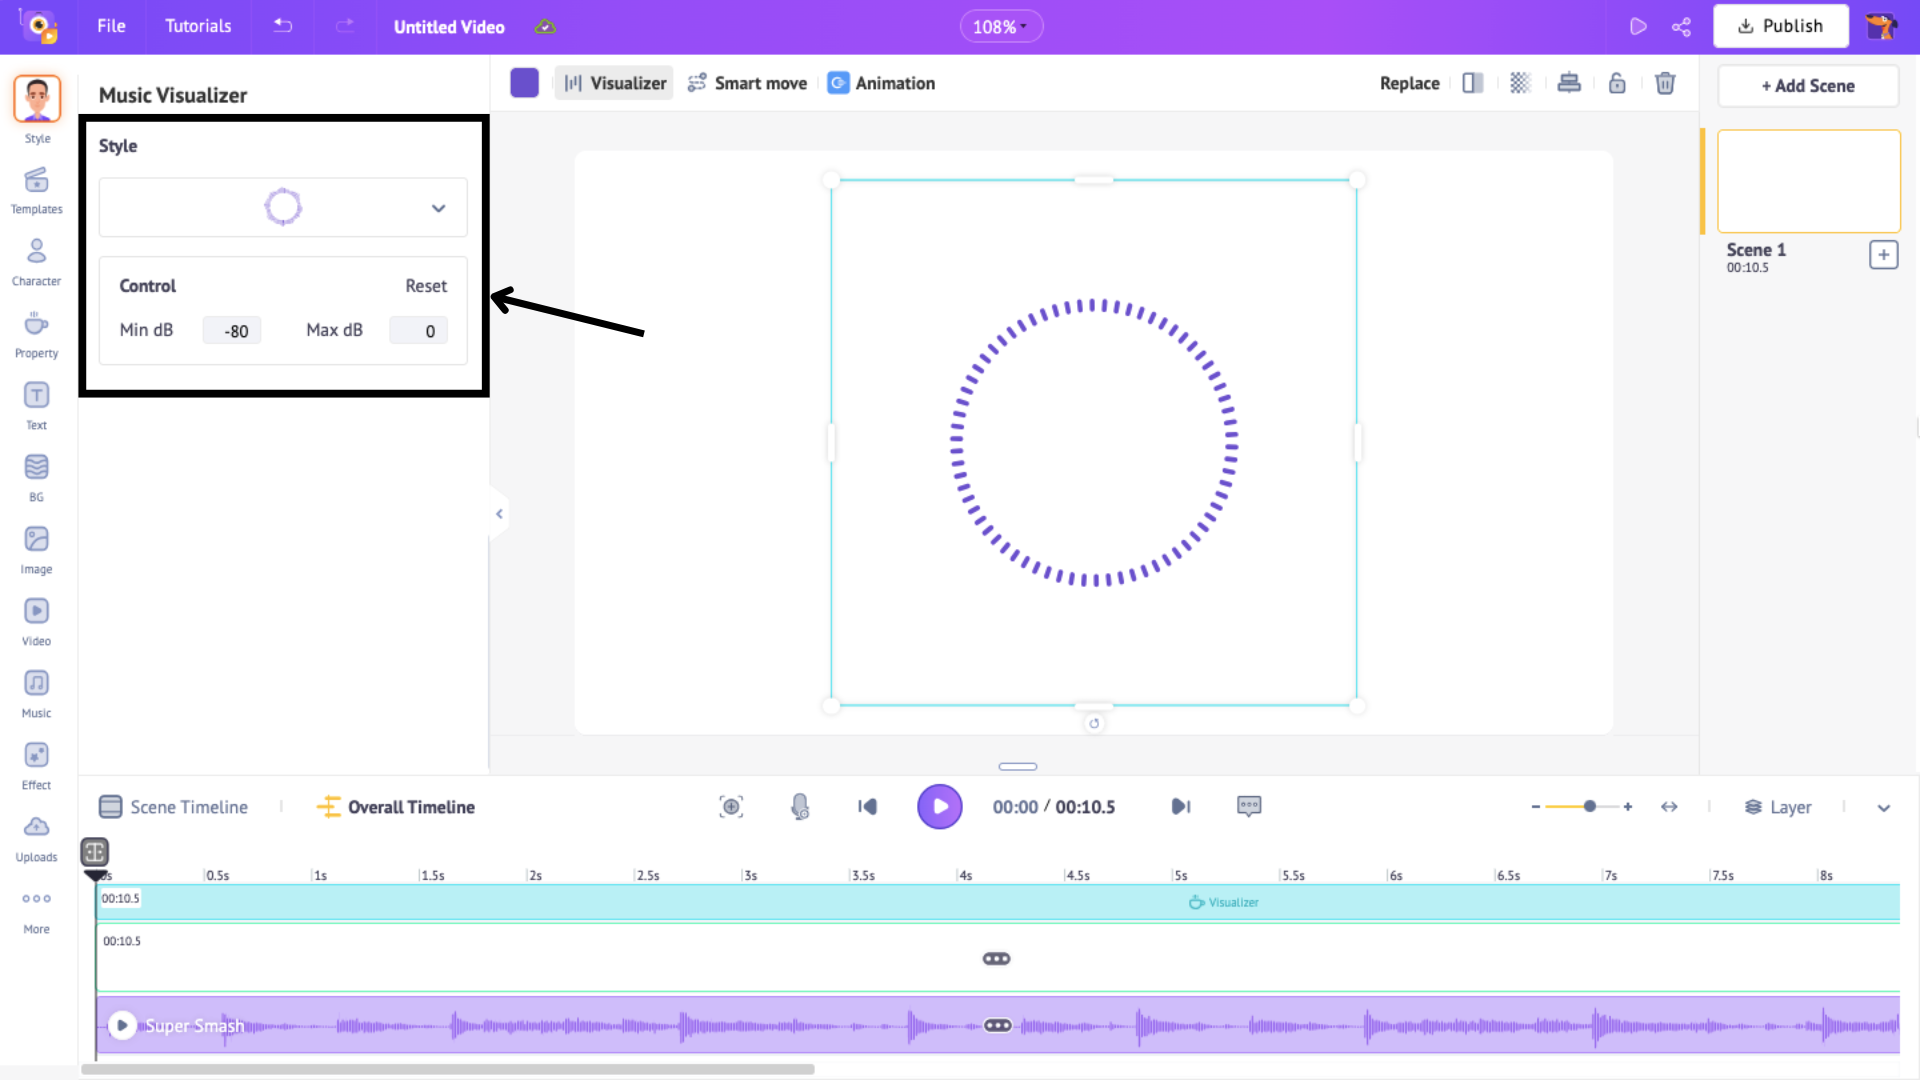
Experiment with the settings to find the perfect look for your audio.
You can even customize the visualizer’s color. Just click the Change Color button and select your preferred shade from the side panel.
We have made these small changes, but don't you think the visualizer looks too simple?
Let’s take it to the next level! With Animaker, you can enhance your visualizer video by changing the background color, adding text, and more to make it truly stand out.
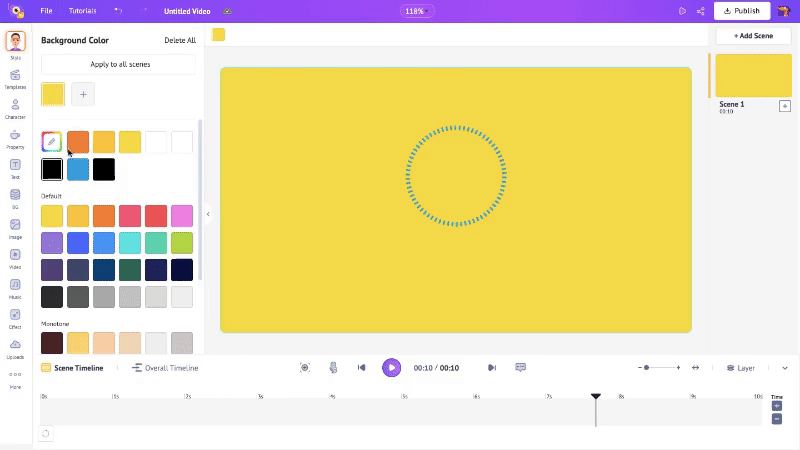
1. Change Background Color
Right now, our background is a plain white solid color. Let’s change that! Simply click the Change Color button.
This will open the side panel, just like when we changed the visualizer color.
Choose your desired color by clicking on it.
That’s how you apply a solid color background! But what if you want a gradient background? No worries—we’ve got that covered, too!
Click the “+” button next to the color box to create a gradient with any colors you like.
Note that you can add up to five colors in a gradient background. And just like that, you've created a stunning gradient effect!
Quick Tip:
Want something more than just colors? You can also add 2D backgrounds from the library! Click on BG in the library panel.
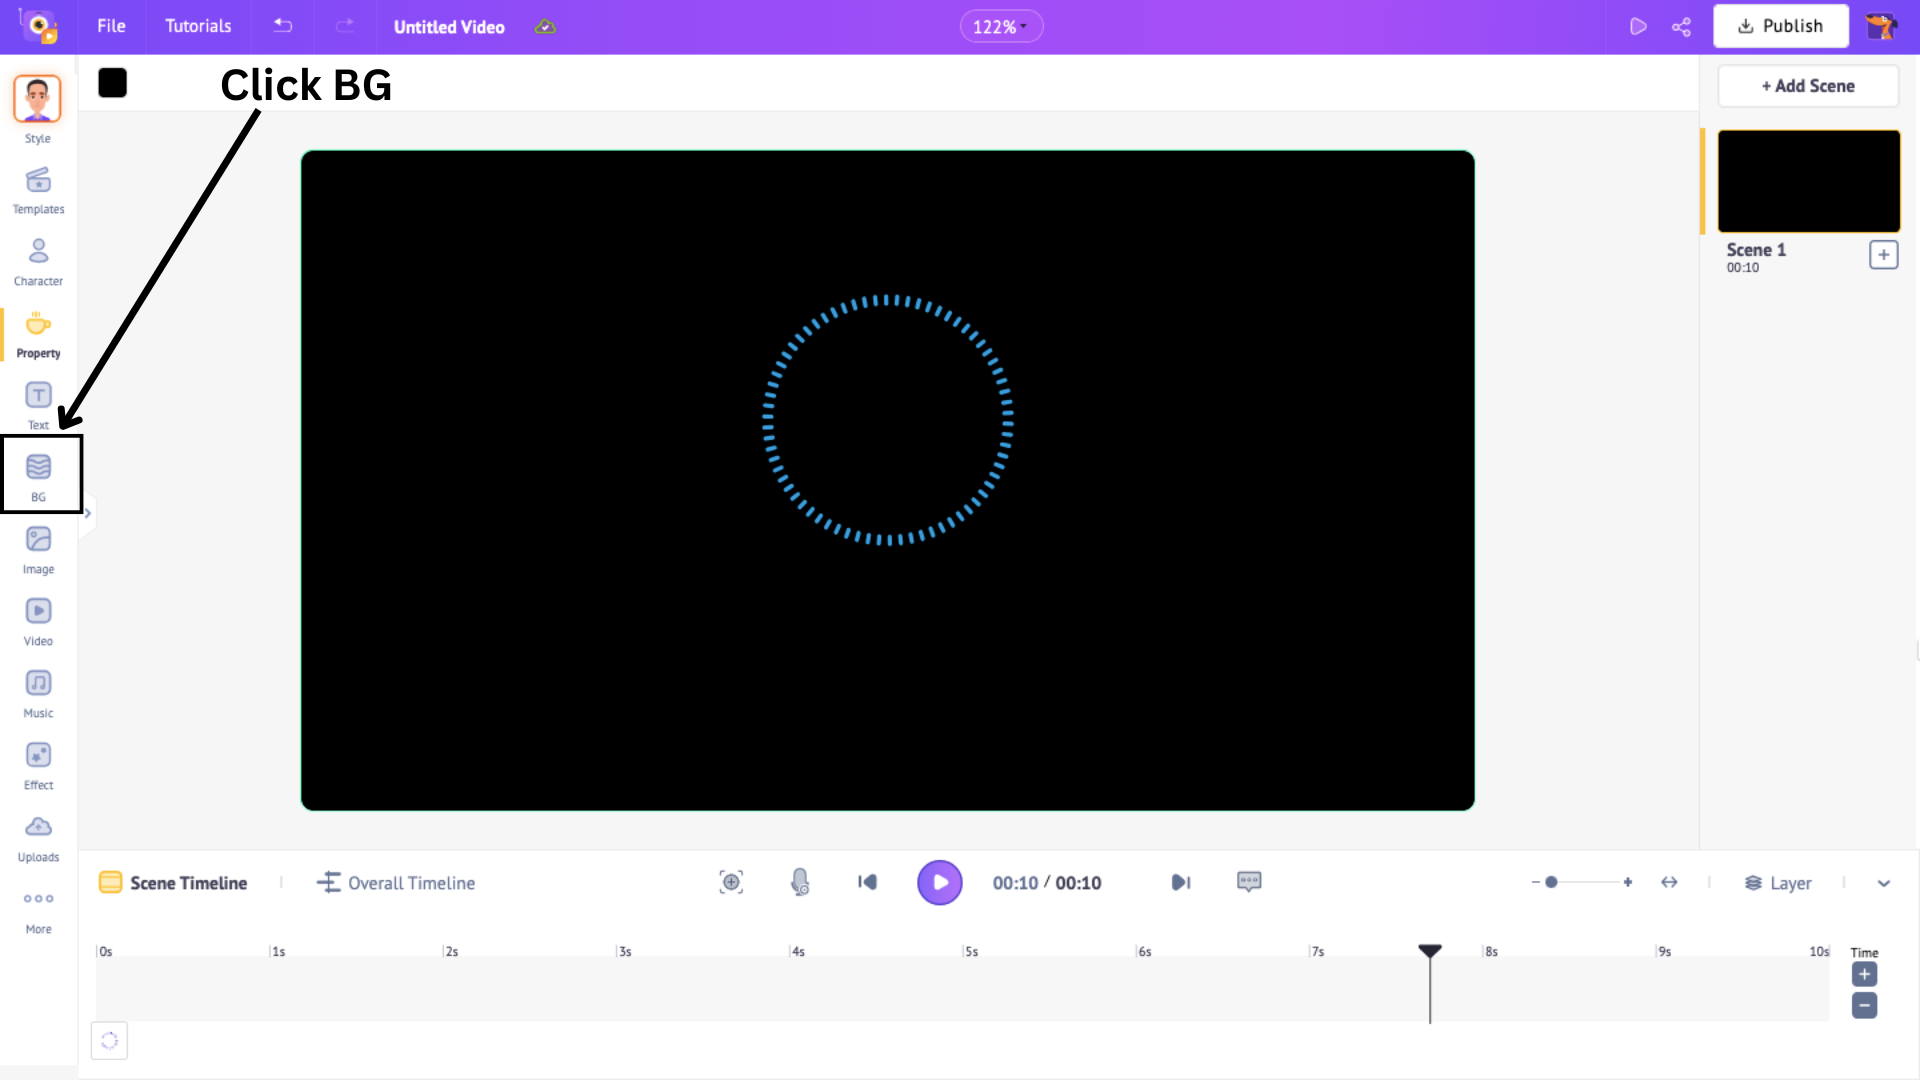
You'll find a variety of backgrounds, from travel and nature to education, business, and more. For a music visualizer, abstract backgrounds work best!
Browse the list and click on a background to instantly apply it to your workspace.
You can even change the colors of the 2D background by clicking on the Change Color button and….you know the drill! 😉

Whether you prefer a solid background, a gradient, or a dynamic 2D background, the choice is yours!
For my project, I’ll stick with a solid background color.
Now that we’ve customized our background, let’s move on to the next element!
2. Add Text and Titles
A music visualizer isn't complete without some text!
Whether you want to add song credits, the artist's name, or even the song title, adding text makes your visualizer more informative and visually appealing.
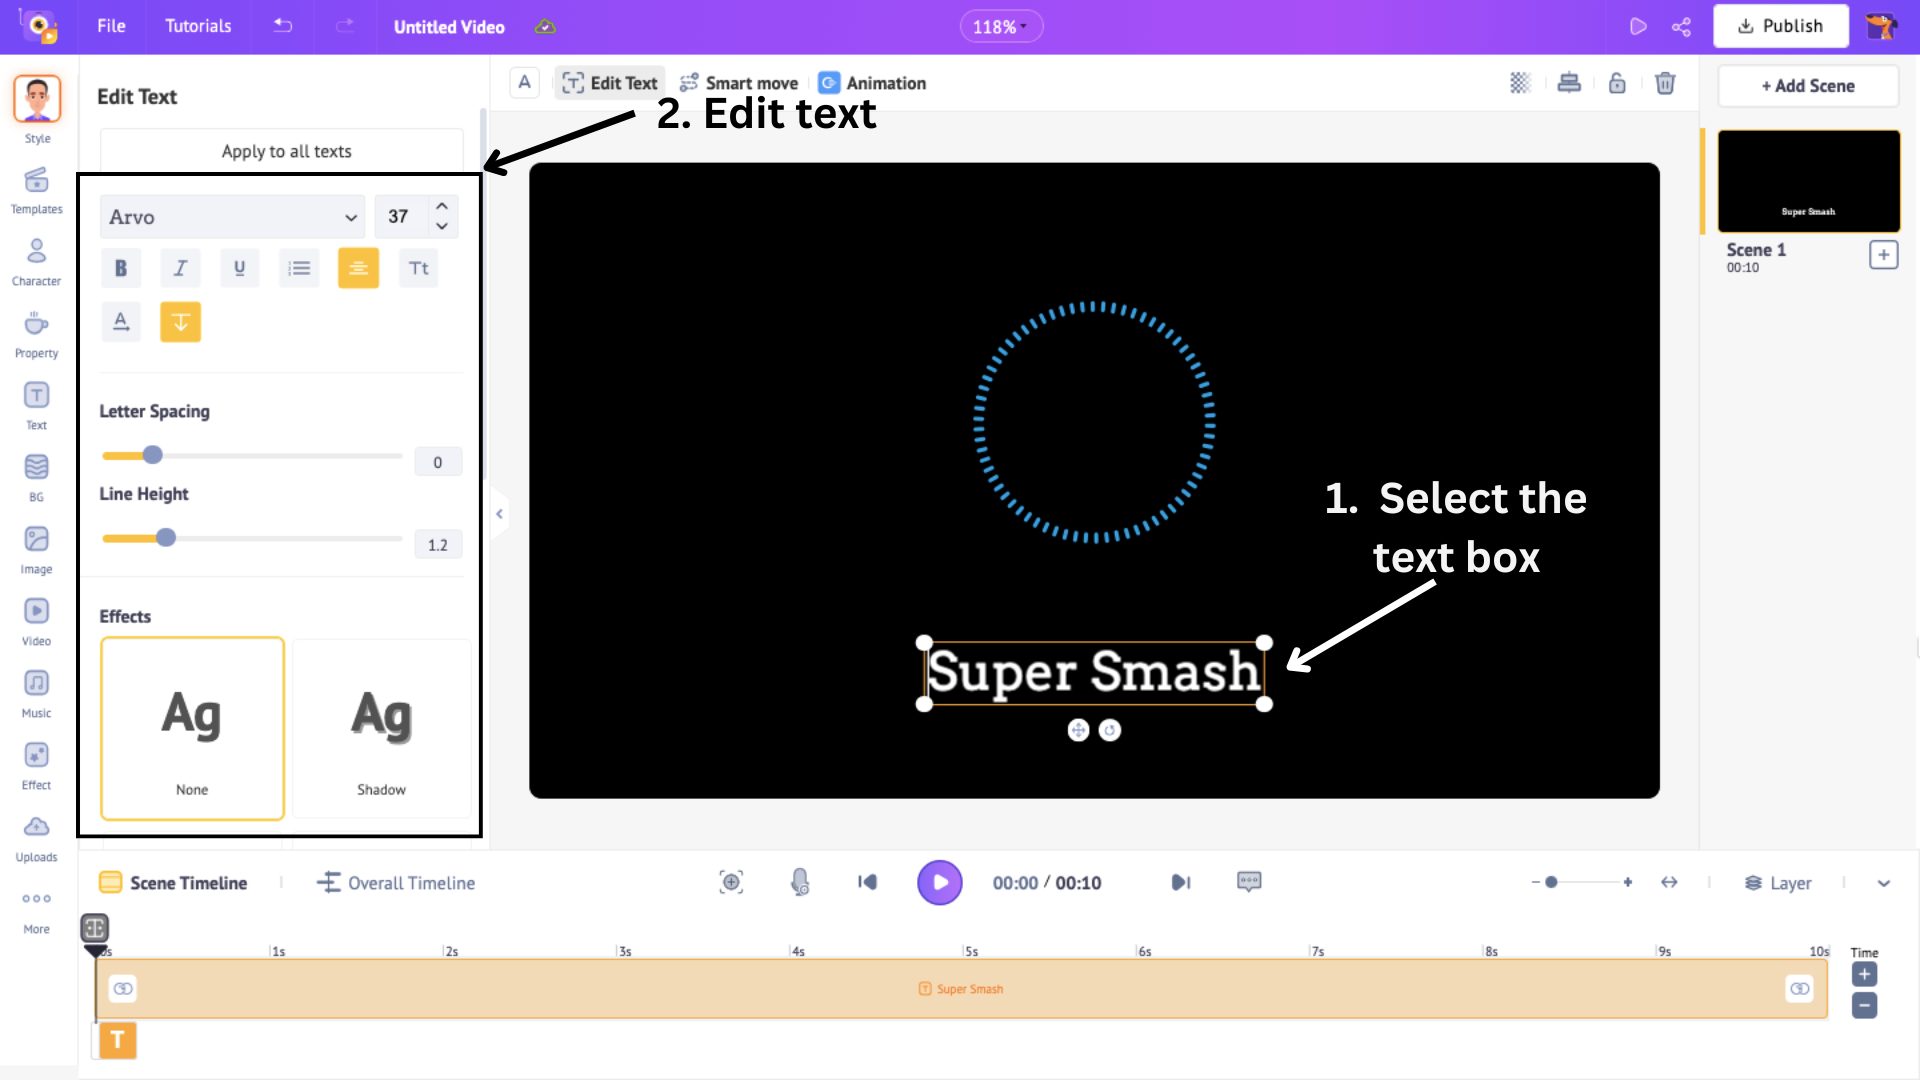
To add text, click on the Text option from the library.
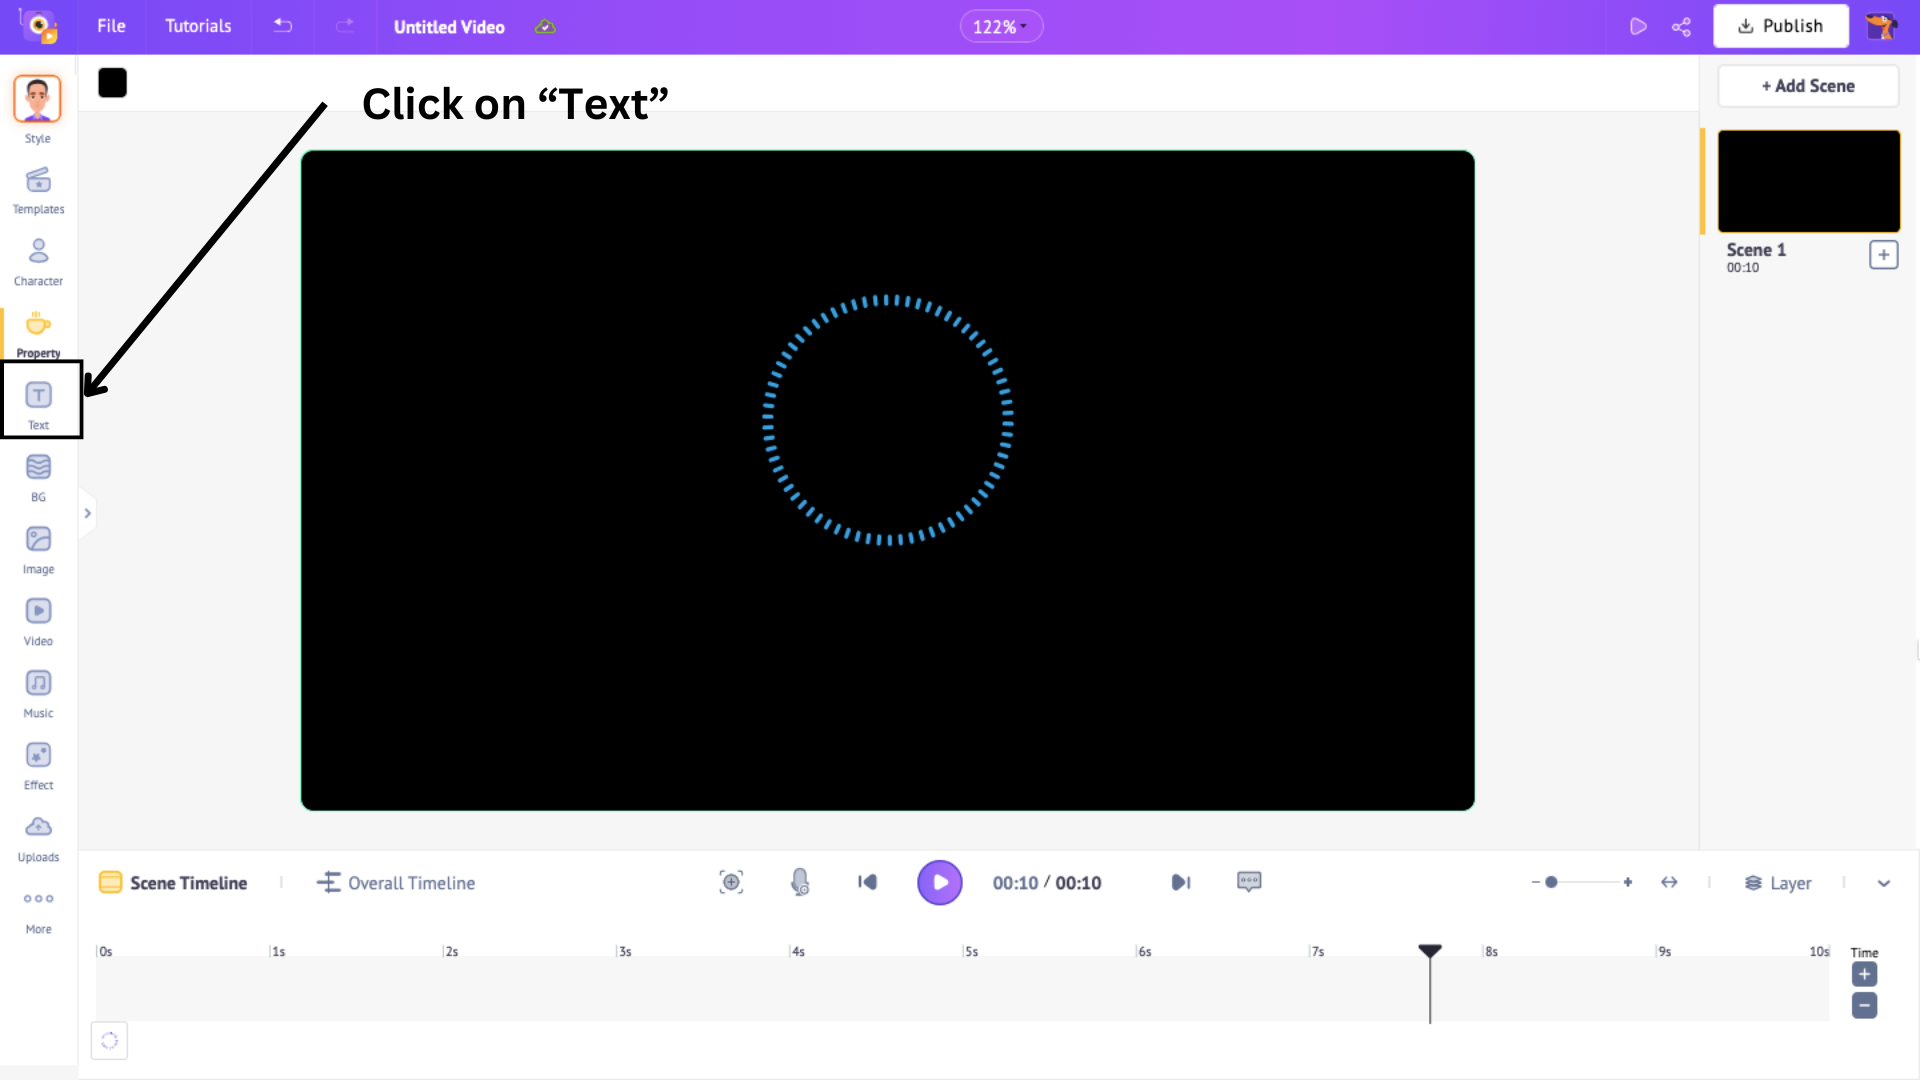
This will open two types of text boxes - Prebuilt and Plain.
- Prebuilt text boxes come with pre-designed fonts, colors, and animated effects—perfect for quick and stylish text elements.
- Plain text boxes are completely customizable, allowing you to start from scratch and design the text just the way you want.
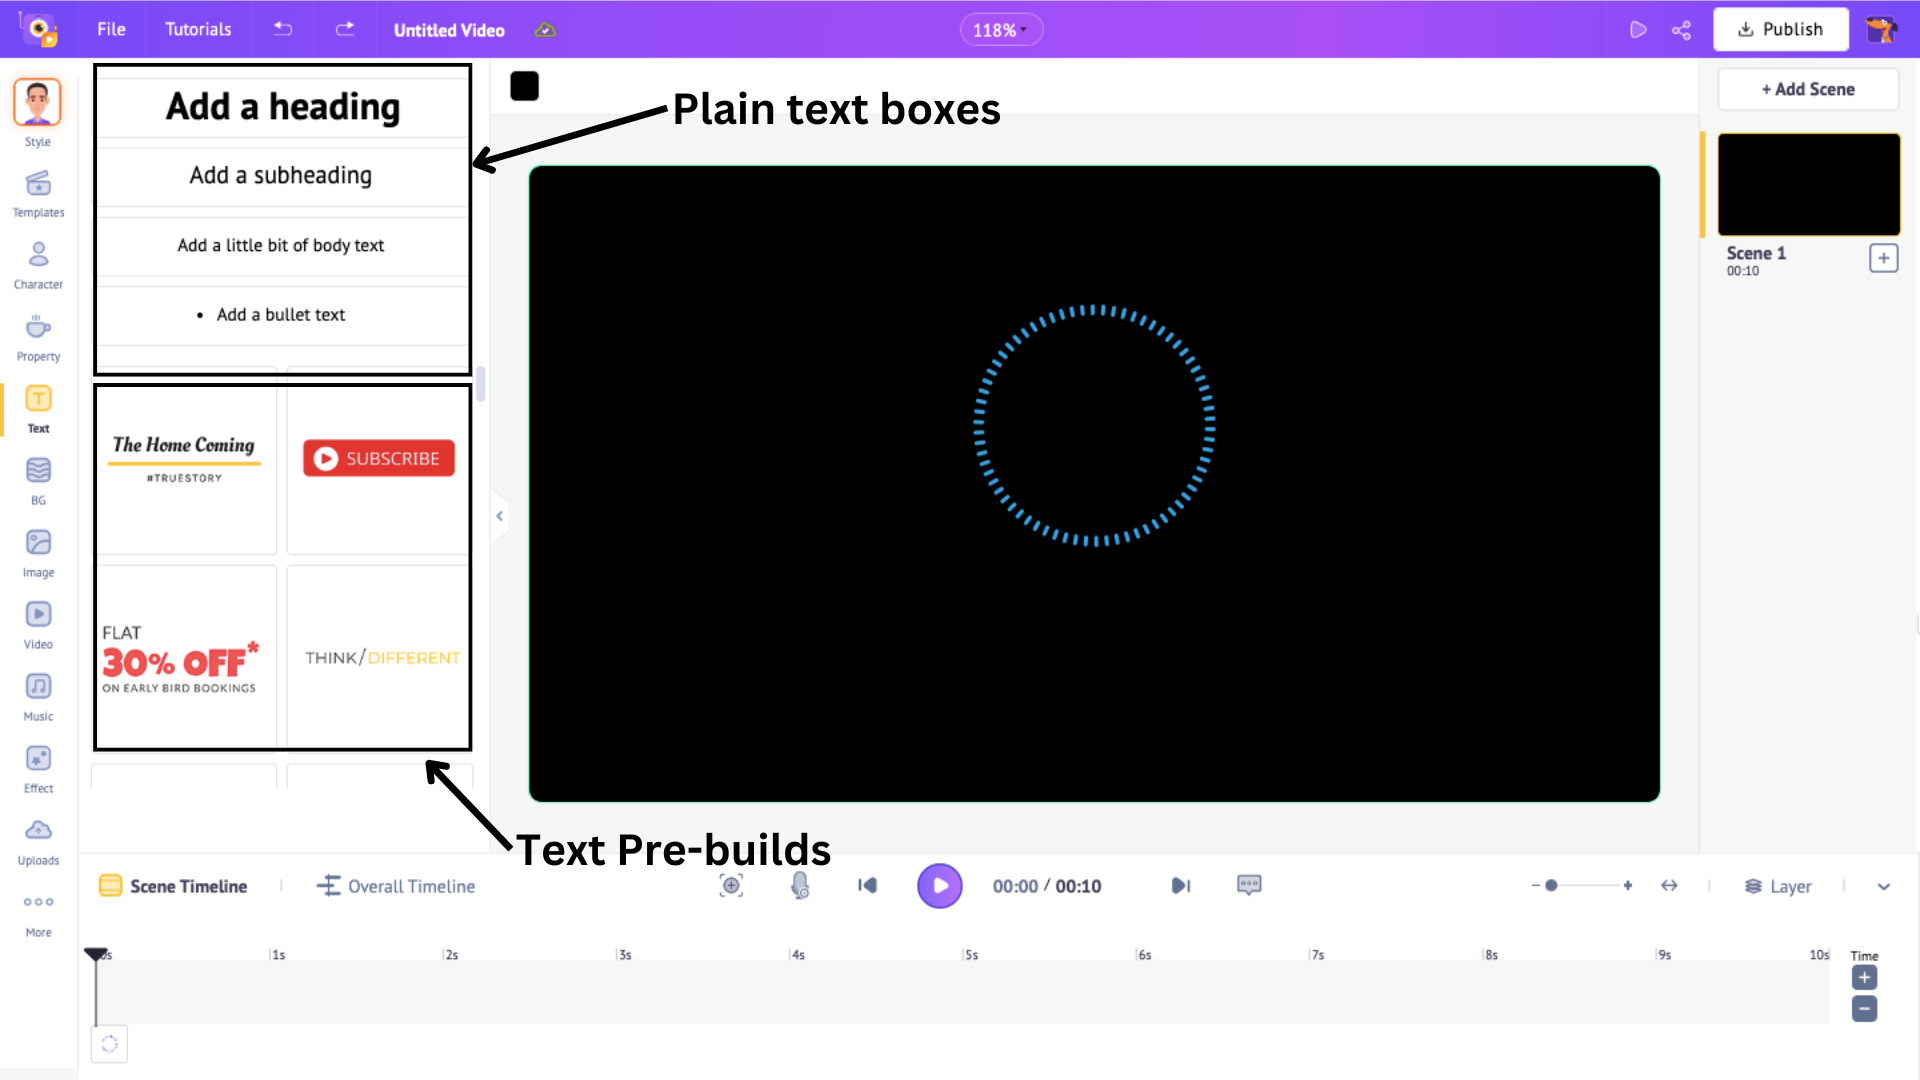
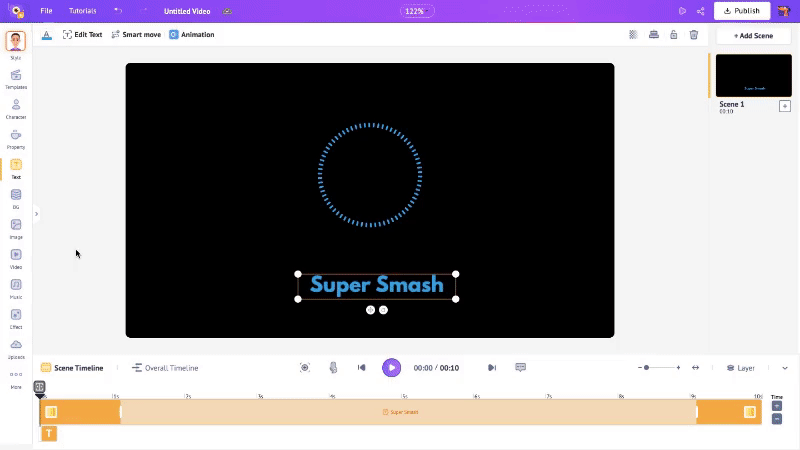
Choose a text box and position it in the scene. I’m choosing a plain text box and typing in the track’s name.
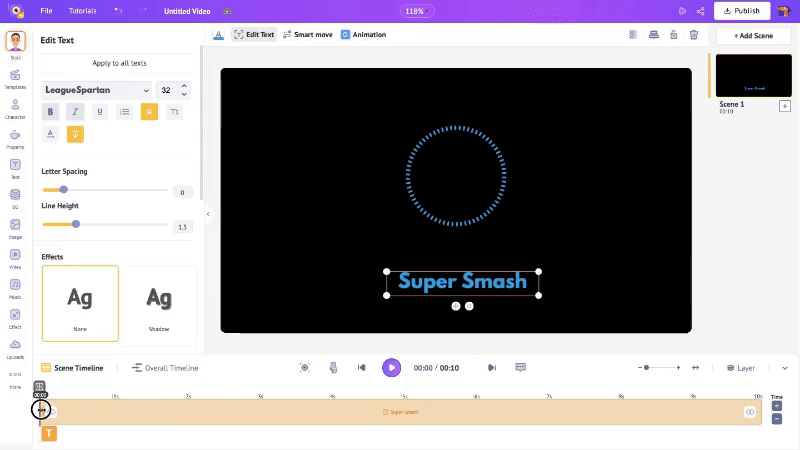
On the left is the Edit Text panel, which has many editing options where you can change the text font, size, and more.
You can also change the color of the text by clicking on the text box and then clicking on the Change Color option above the workspace.

When you add text, an orange section appears on the timeline, representing the text's duration in the scene.
Drag the edges of this section to adjust when the text appears and disappears in the video.
Since I want the text to stay visible for the entire video, I extend it across the timeline.
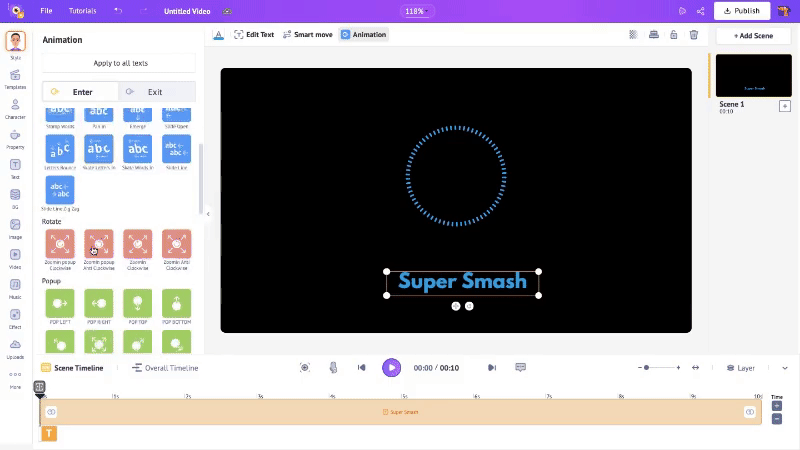
Did you know that you can even add animation to your text to make it more dynamic?
Yes, you can!
To do that, select the text box and click on Animation. This will open a list of 35+ enter and exit animation effects that you can choose for your text.

Once you add the enter and exit effects, two highlighted sections will appear at either end of the orange section on the timeline. These indicate the duration of the animation.
To adjust this duration, simply drag the inner corners of the highlighted sections.
And that’s it! Your text is now stylish, animated, and perfectly timed with your music visualizer.
If you want to add song lyrics or text that syncs to the audio, stick around until the last step for the Bonus Tip!
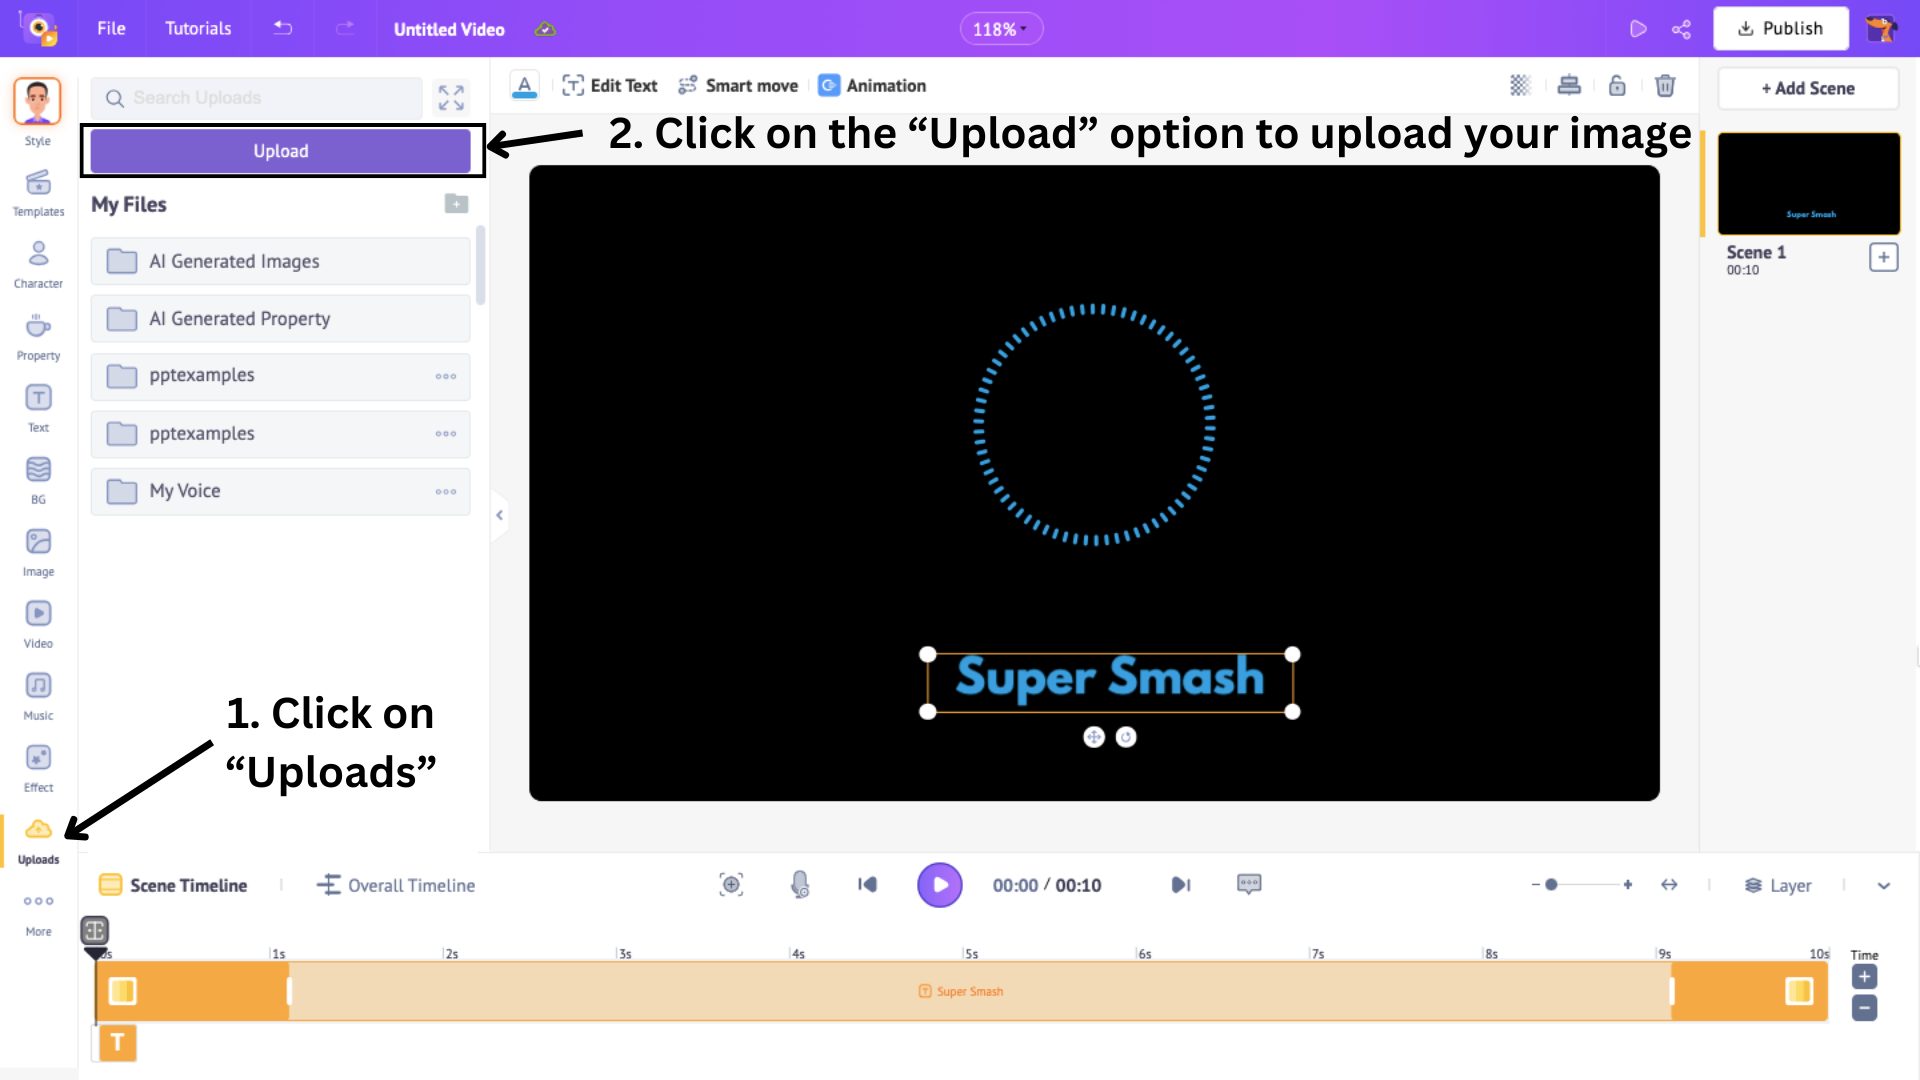
3. Add Images
This music visualizer example could definitely look good with an image added to it!
You can easily do this in two ways -
1. Browse Animaker’s image library – Click on Image in the library to explore a vast collection of visuals. If you find something you like, just click to add it to your video.
2. Upload your own images – Click on Upload in the library and upload images from your device. Once uploaded, simply click to add it to the workspace.
I’ve added an image from the library, but I want it to fit perfectly inside the circular center of the visualizer. The problem? My image is a rectangle!
To fix this, I’ll use something called Frames.
Frames allow you to place media inside a predefined shape, making it adapt effortlessly.
Here’s how you do it!
Click on Frames in the Property section of the library. You’ll find a variety of shapes to choose from.
Select a frame and position it on the workspace. I’m choosing a circle frame and placing it right at the center of the visualizer.
Drag and drop the uploaded image onto the frame. The image will instantly take the shape of the frame!
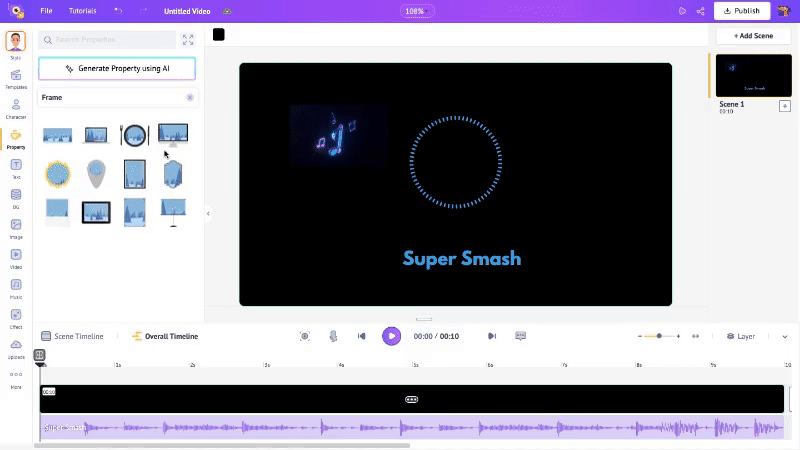
And just like that, the music visualizer looks even better - with a perfectly placed image in the visualizer and animated text!
There is, however, you can add one more thing for your visualizer - and that is effects!
4. Add Effects
Let’s now add effects to the video! To do so, click on the Effects option in the library. Here, you will have multiple effects to choose from.
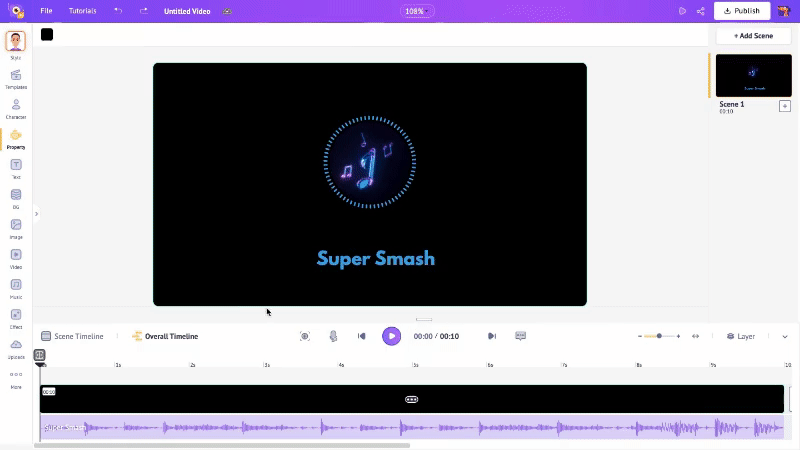
Once you click on an effect, it automatically gets added to the video. Check out how my music visualizer example looks with the effects of a music player -
Adding effects is completely optional - choose what best matches the mood and energy of your audio.
And that’s it! We’ve just created our very own music visualizer from scratch! Not as tricky as you thought, right?
Now, let’s download and share it with the world!
3. Preview and Download/Share Your Visualizer
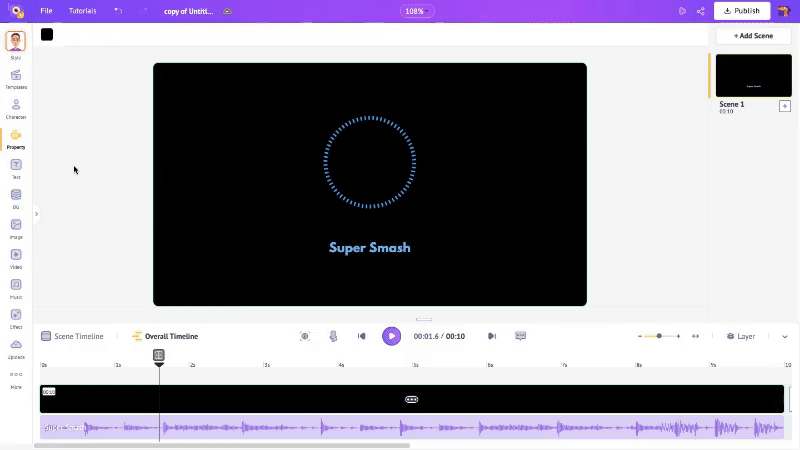
Once you’ve set everything up, hit the Preview button to see your music visualizer in action. Play your track and watch as the visual effects move in sync with the music.
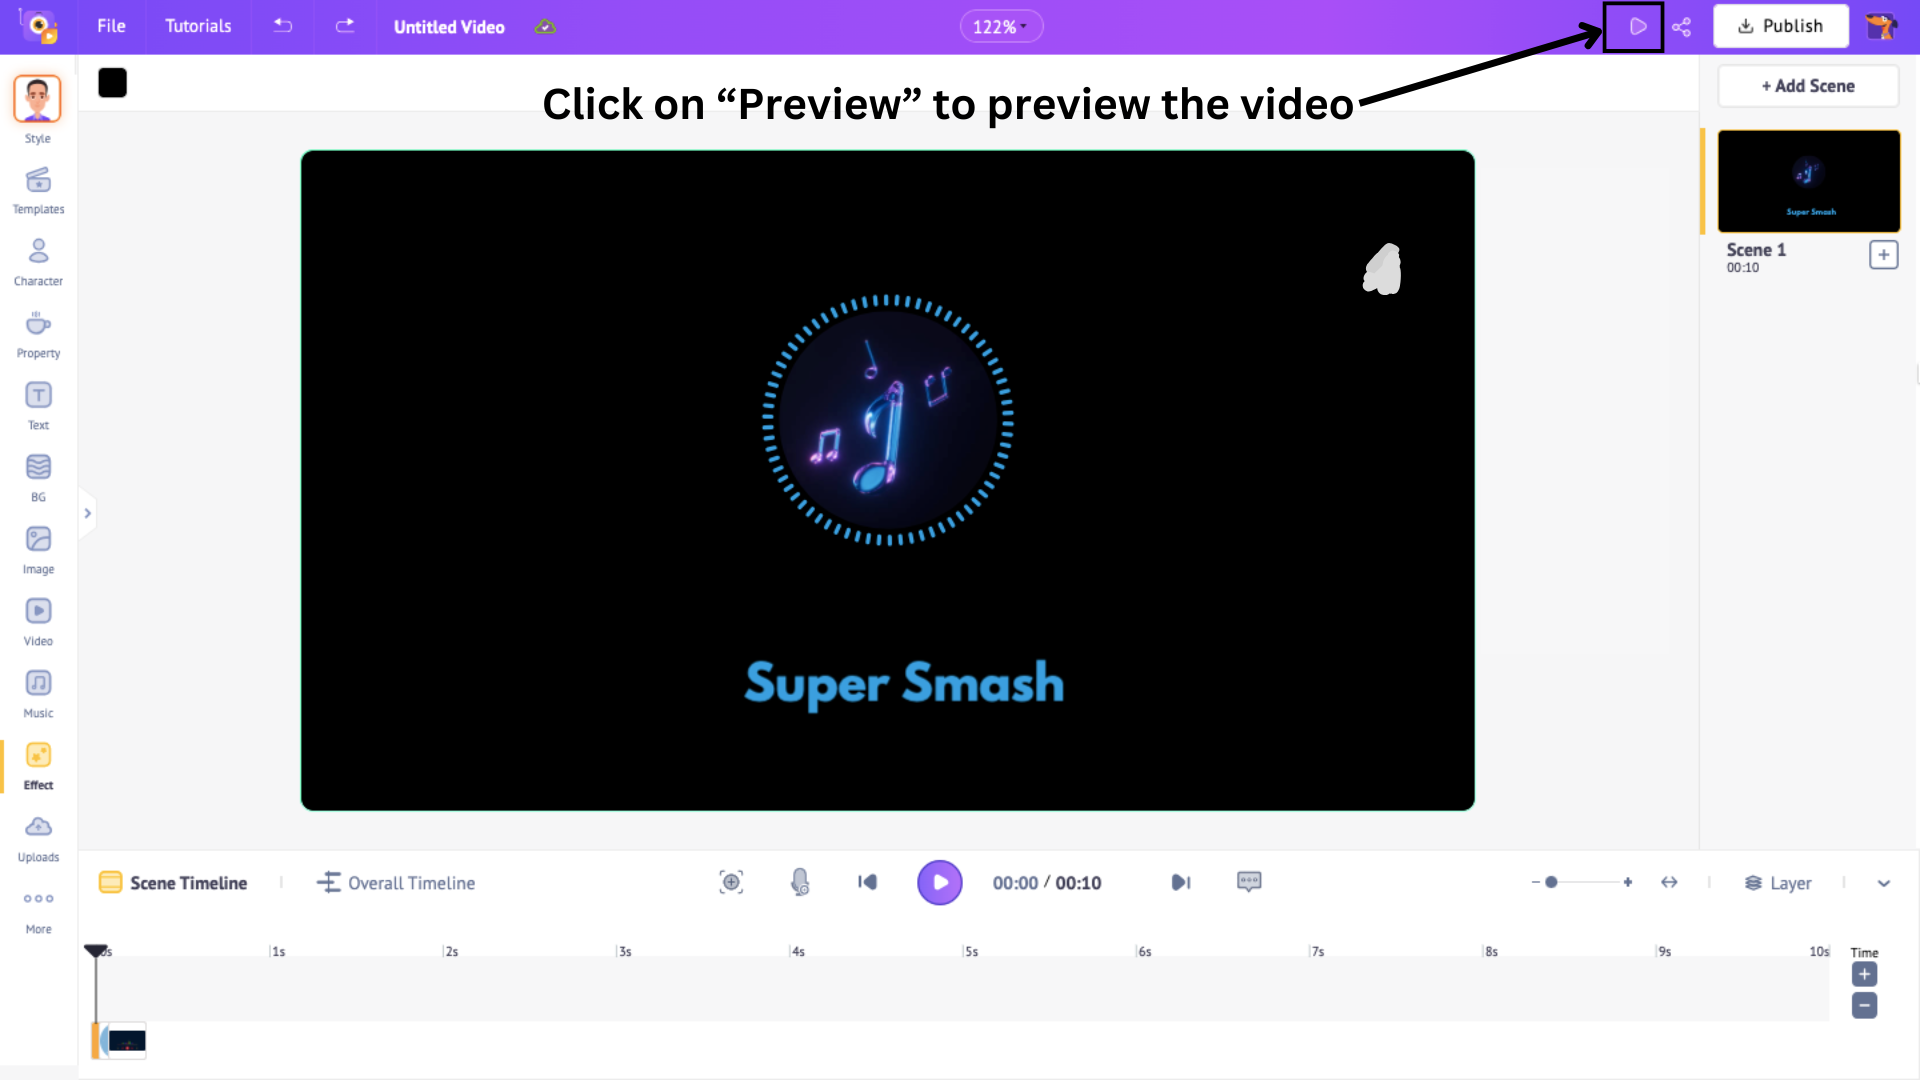
This is your chance to make any final adjustments to ensure the visualizer is perfect! This is how my music visualizer looks after making last-minute adjustments!
When you’re ready to download/share, click on Publish and this will open options where you can download the visualizer or share it directly to your social media platforms.
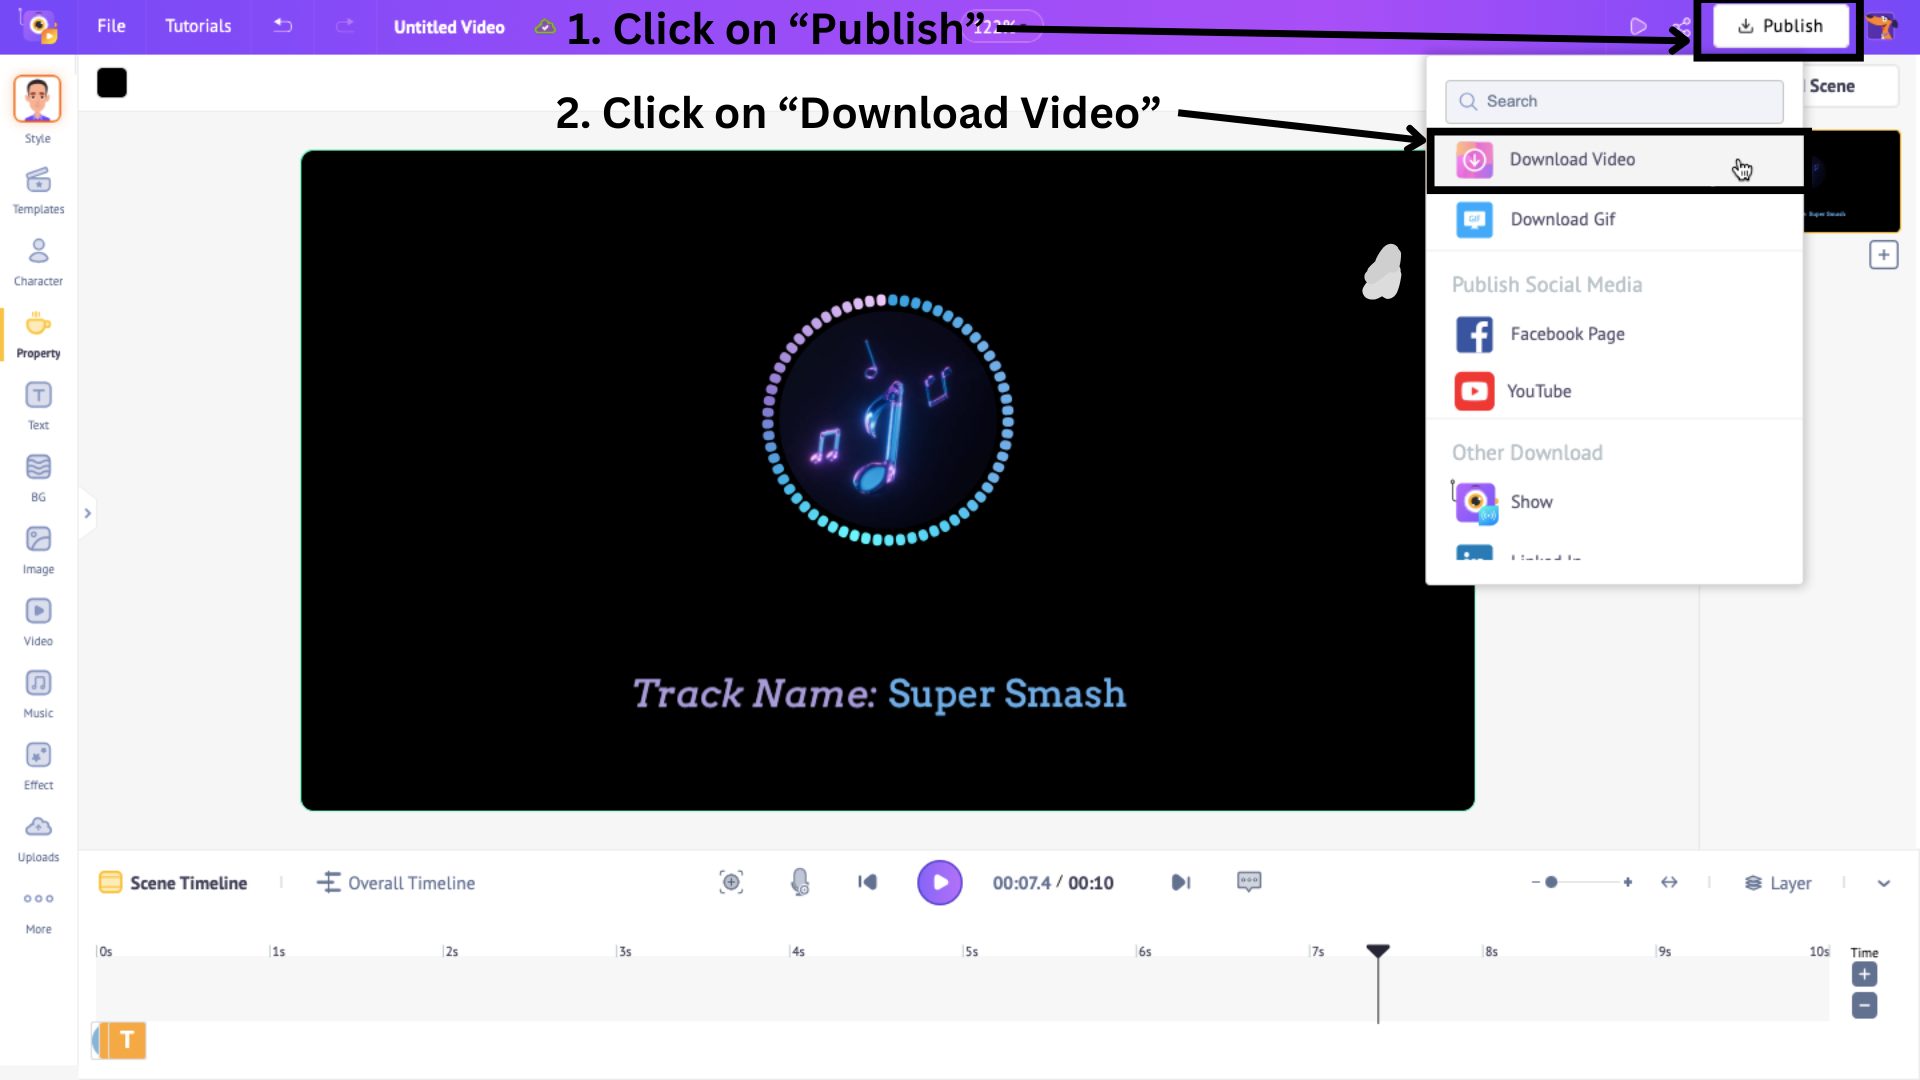
Click on the Download Video option to download it as a video and select the Download option again.
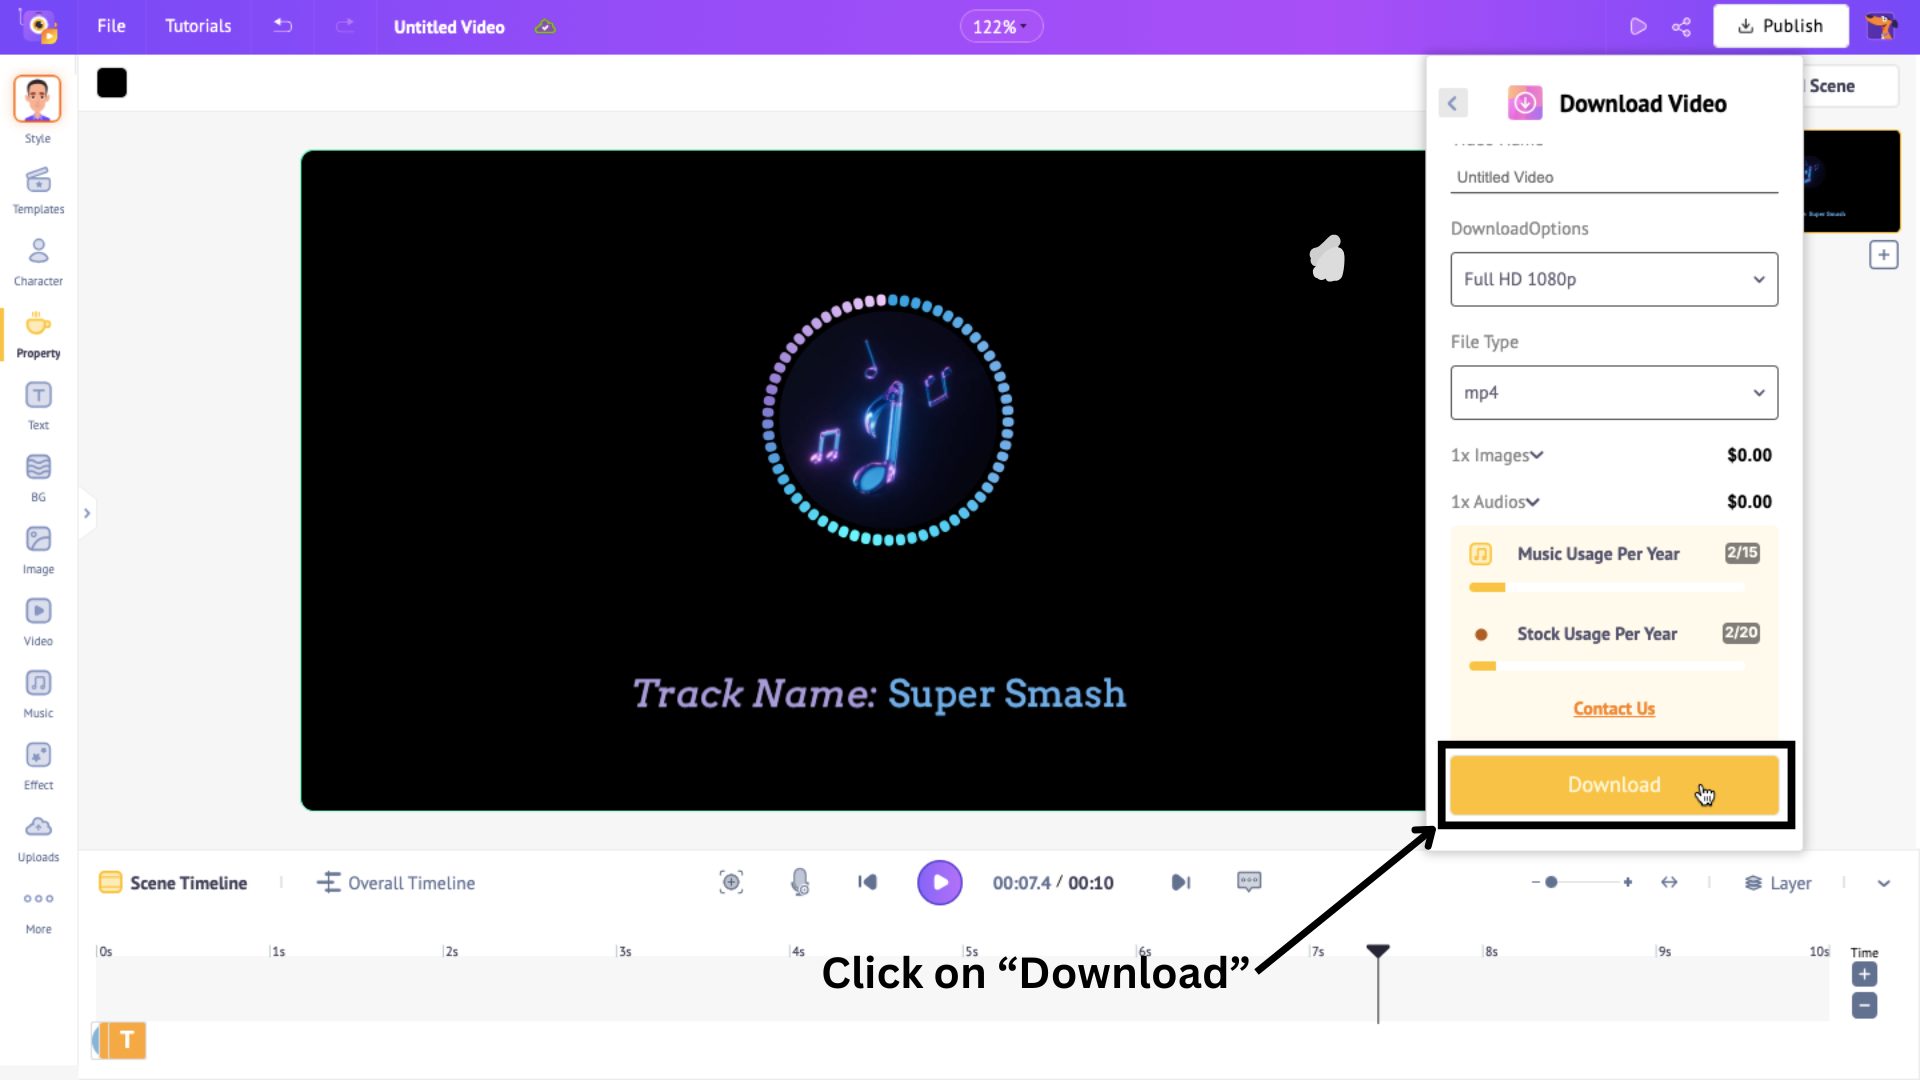
The video gets rendered and can be downloaded from the Exports page.
Bonus Tip:
If you want to add song lyrics or text that syncs to the audio, then you easily do it with Animaker Subtitles!
From the Exports page, where you download your rendered projects, there is a CC button. This is the option to add synced subtitles!
Click on it, and you will be taken to the subtitle tool window, where you will be given three options for adding subtitles -
- Auto Generate Subtitles - use AI to generate subtitles that automatically sync to your video!
- Manually Write Subtitles - type subtitles manually, syncing them to the audio.
- Upload Subtitles - upload a subtitle file to add it to the video.
Check out the video below to learn how to add subtitles with this tool -
***
See just how easy it is to create a stunning music visualizer?!
By following the simple steps on how to make a music visualizer, you can now bring your favorite tunes to life with vibrant visuals.
Create music visualizations for your favorite artist’s songs or enhance your podcast with dynamic visual effects without complicated software setups!
So go ahead, experiment with different styles, add your personal touch, and start crafting your own incredible visualizer with Animaker’s Music Visualizer today!
FAQs
1. What is a music visualizer, and how does it work?
A music visualizer is a tool that creates dynamic, animated visuals synced to music. It works by analyzing the audio’s frequency and beat, converting them into animated visuals that respond to the energy and pace of the track.
2. Can I make a visualizer without coding?
Yes, you can easily create a music visualizer without coding! Platforms like Animaker allow you to design stunning visualizers using simple drag-and-drop tools, no coding required.
3. How to sync visuals perfectly with the audio?
To sync the visualizer perfectly with the audio, use a music visualizer tool like Animaker’s Music Visualizer, which automatically adjusts visual effects to match the beats and rhythm of your track.
4. What’s the best color scheme for a music visualizer?
The best color scheme for a music visualizer depends on the mood and vibe of the audio.
For energetic tracks, bright and vibrant colors like neon greens, blues, or purples work well, while for more mellow music, softer hues like pastels or dark tones can create a calm atmosphere.
It's essential to choose colors that complement the genre and emotion of the music, ensuring the visuals enhance the listening experience.
5. What’s the best format to export a music visualizer?
The best format to export a music visualizer is typically MP4, as it provides high-quality video while keeping the file size manageable.
MP4 is widely compatible with most platforms and devices, making it ideal for sharing or uploading your visualizer.
6. How to create a high-quality visualizer for YouTube or Instagram?
To create a high-quality visualizer for YouTube or Instagram, use a tool like Animaker to customize your visualizer, sync it with your audio, and export in HD resolution.
Make sure to adjust the aspect ratio for the platform and add personal touches like text or logos for a polished look.