How to create engaging animated videos for your Talent LMS e-learning courses using Animaker
Gone are the days of static, monotonous learning materials.
Animated videos breathe life into training courses, offering a dynamic and visually stimulating approach.
L&D professionals understand that engaging content is essential for effective learning outcomes. Animated videos provide a perfect blend of entertainment and education, capturing learners' attention and facilitating better retention of information.
The incorporation of animated videos into L&D strategies directly contributes to increased Return on Investment (ROI).
These videos not only enhance comprehension but also cater to various learning styles, making the educational experience more inclusive. The visual appeal of animations engages learners on a deeper level, resulting in a positive impact on completion rates and knowledge retention.
Combatting Fatigue: Animated Videos for Rescue
Long training sessions often lead to learner fatigue, hindering the effectiveness of the course.
Animated videos act as engaging wakefulness aids, preventing learners from zoning out or losing interest. The dynamic and entertaining nature of animations keeps learners active and participative throughout the course, ensuring the delivery of key concepts without any drop in attention.
As we navigate the super-duper digital era, incorporating Artificial Intelligence (AI) into L&D practices becomes indispensable. Animaker, a cutting-edge animation tool, empowers L&D professionals to create AI-animated videos effortlessly. This intuitive platform allows users to craft visually stunning content that aligns seamlessly with Talent LMS courses. From concept to execution, Animaker ensures a streamlined process for producing high-quality, engaging animated videos.

The synergy between Animaker and Talent LMS opens doors to a world of possibilities. L&D professionals can create AI-animated videos instantly and seamlessly upload them into Talent LMS, providing learners with an immersive and interactive educational experience. This integration not only saves time but also ensures that the learning content remains at the forefront of innovation.
Let us dig into creating an animated video using Animaker in 3 simple steps that’ll make your e-learning courses interesting and engaging.
3 steps to create an animated video for your Talent LMS courseStep 1: How to create Animated video using Animaker Creating only an animated video is not enough; your audiences need more - so, let’s do some add-ons, Step 1.1: Record your screen by blurring confidential data Step 1.2: How to create an engaging intro/outro to your course Step 1.3: How to insert AI automatic subtitles for your animated video Step 1.4: How to add GIFs to your e-learning courses Step 1.5: Create thumbnail & banner images using Picmaker’s templates |
Buckle up as we explore how this dynamic duo can reshape the way organizations educate and empower their workforce.
Step 1: How to create an Animated Video using Animaker
1: Sign in or sign up if you haven’t got an account with Animaker yet.

2: You will be able to access the dashboard, wherein you can start creating animation videos from scratch.

Animaker also has 10,000+ templates from various domains, concepts, and aspect ratios.

3: Start creating your animated video from scratch:

Here’s how you create customizable animated videos using Animaker:
If you still have questions about any of our features, feel free to book a demo with us - we’ll get on a quick call to resolve your queries, and hence, you can create your amazing animation video using Animaker :)
Get Started with Animation Videos Instantly!
Step 1.1: Look for AI automatic subtitles for your animated video
Haven’t tried out Animaker’s AI Subtitle Generator?

Animaker’s AI-driven automatic subtitles feature is a boon for inclusivity. It effortlessly generates subtitles in over 90 languages, ensuring that learners, regardless of their language preferences or hearing abilities, can engage with the content seamlessly.
This feature not only aids comprehension but also caters to a diverse audience base, fostering a more inclusive learning environment.
- Instantly Generate subtitles with Animaker AI
- Format your subtitles like a pro!
- 20+ Cool Animations to spice up your subtitles
- Auto Translate to 100+ Languages
- Manual Subtitling for the Experts!
Maybe, you should give this a shot!
In Animaker, you have three methods to plug in the subtitles.
- Auto Generate Subtitles
- Manually Write Subtitles
- Upload Subtitles
Go to Animaker Dashboard -> Click 'Create' on the left side -> Click on 'Create Subtitle' -> Import or select a video file to which you want to add subtitles -> Choose generation method -> Make edits if you want to -> Download

Meet your e-learners' needs seamlessly with Animaker's AI-powered subtitle generator.
Even after downloading the video, you have got the option to ‘Add Subtitles’.

Explore the power of Animaker's AI Subtitle Generator!
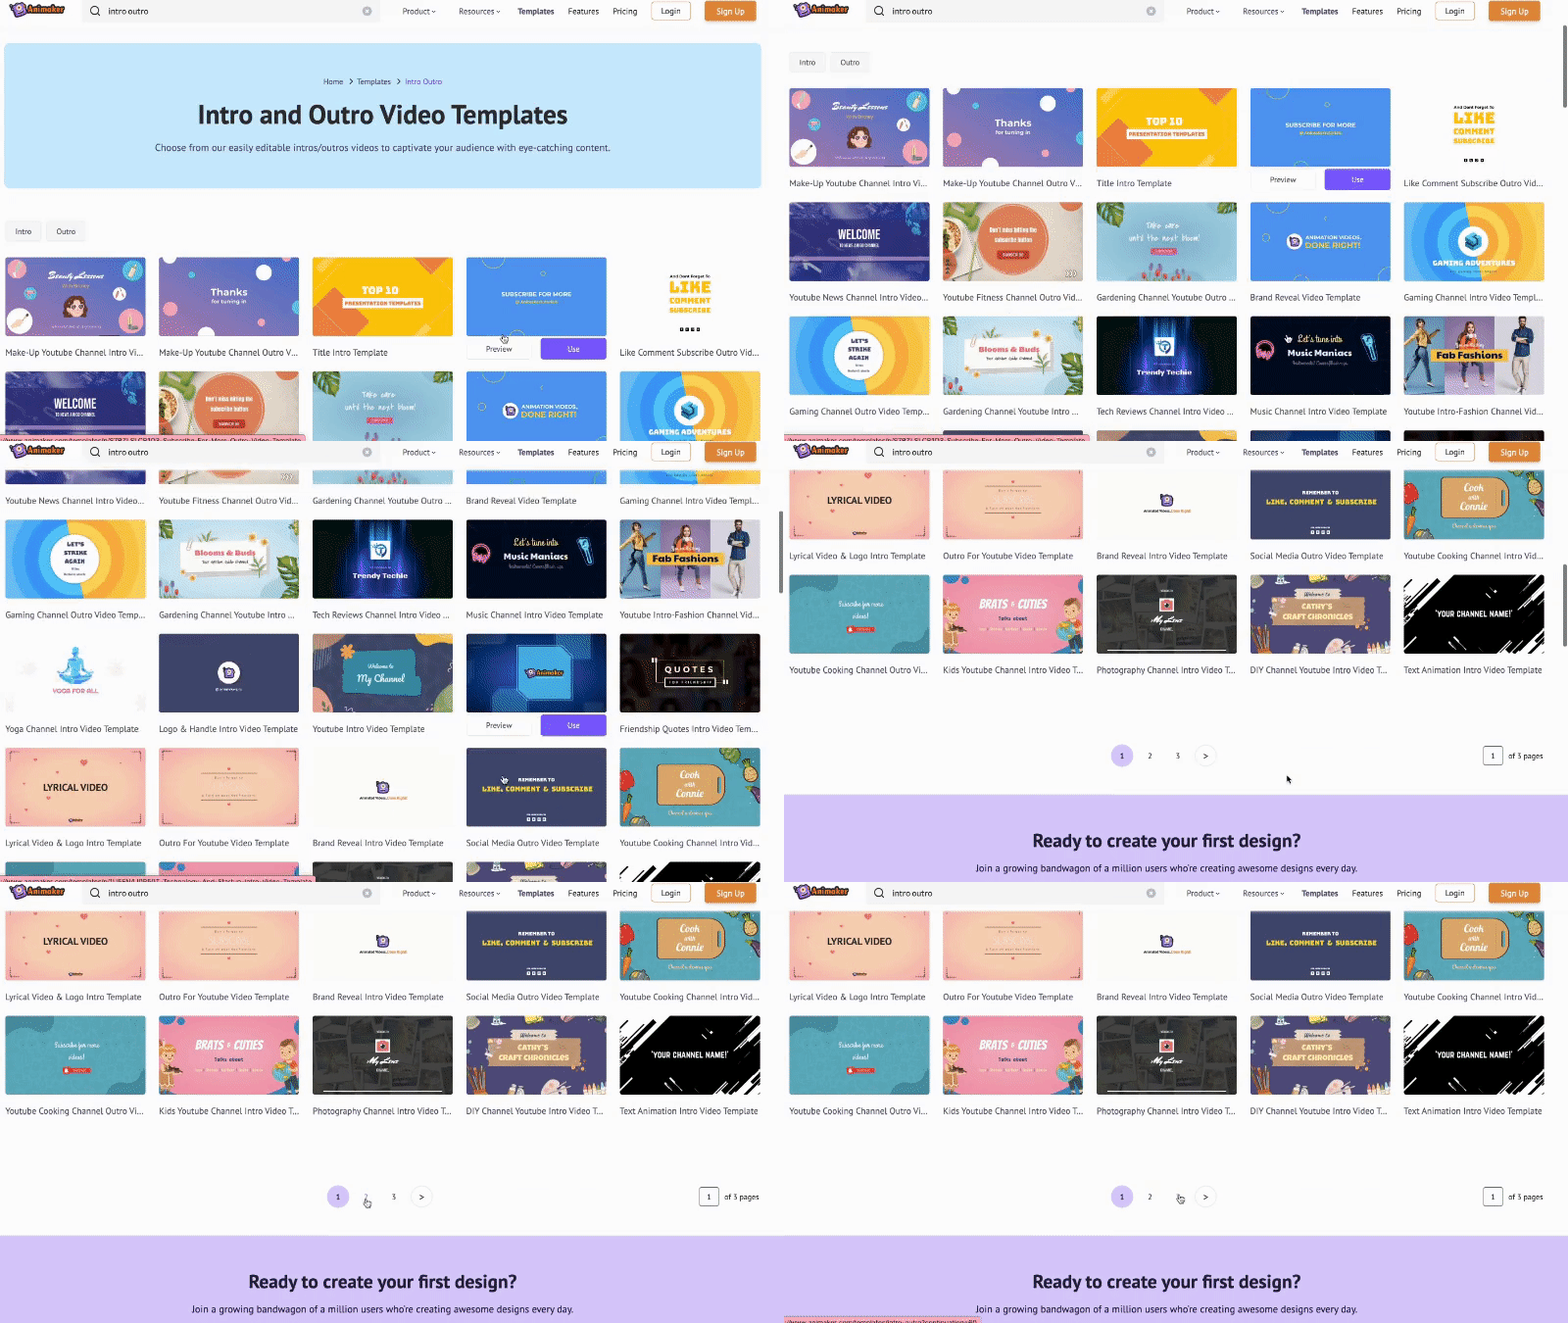
Step 1.2: How to create an engaging intro/outro to your course
Intros and outros serve as the bookends to a video, offering numerous benefits to content creators and viewers alike.
A well-crafted intro captures attention from the get-go, setting the tone, establishing brand identity, and creating anticipation for the content ahead. It's an opportunity to showcase a logo, tagline, or memorable visuals.
On the other hand, outros are a graceful way to conclude a video, providing closure while encouraging engagement through calls-to-action, such as subscribing, liking, or directing viewers to related content.

They enhance the overall professionalism of the video, leaving a lasting impression and encouraging viewers to stay connected.
Access the Huge collection of Intro/Outro templates
Step 1.3: Record your screen by blurring confidential data
Did you know that you could blur the sensitive data while recording your screen?
Get started with a journey of seamless screen recording with a touch of privacy!
Meet Vmaker, the ingenious screen recording tool powered by Animaker, where simplicity meets efficiency. In a world where data privacy is significant, Vmaker steps in as the game-changer, allowing you to record your screen without compromising sensitive data.
Here your information remains protected, and the process remains refreshingly uncomplicated.
Step 1: Login if you have a Vmaker account or sign up.

Step 2: Once you’re in the Vmaker dashboard, you will find the ‘Record’ option.
Recommended: We suggest you download the web version or Chrome extension to easily start recording your screen whenever you wish.
Step 3: Start the recording when you want to. Blur the sensitive areas and draw on the screen while recording using the options on the left.

There you go!
Try out our effective screen recording tool
Step 1.4: Introducing GIFs to your e-learning courses
GIFs inject dynamism into e-learning materials.

With Animaker, integrating GIFs into your content is simple. Its extensive GIF library covers a spectrum of topics, allowing L&D creators to add contextual and illustrative GIFs that supplement the learning process.
Crafting engaging and professional GIFs for Talent LMS courses is a breeze with Animaker. These interesting small snippets enhance engagement and retention, making complex concepts more digestible for learners.
You can either create your own GIF (when the video is less than 30 seconds) or try out our existing GIFs using Animaker.

Transform your e-learning narrative with Animaker's GIF magic, turning every lesson into an immersive journey!
Step 1.5: Create thumbnail & banner images using Picmaker’s templates
Visual appeal matters. Creating an eye-catching banner image or thumbnail for your course is instrumental in attracting learners.
Explore Picmaker now!

Picmaker empowers users with customizable options, allowing them to design attention-grabbing visuals that entice learners to explore the course content further.
Bonus: We’ve something more…
Step 2: Transform your Text Content into an Animation Video Instantly
In Step 1, we saw how to create an animated video from scratch or using our 10000+ templates. But here’s a way where you can simply convert your blog content or any page into an animation video using AI and customize it accordingly.
Transforming written content into a video course is simplified with Steve.ai.

On the section ‘Text to Animation’, paste the link of the blog and click ‘Proceed’.

You have the choice to choose the lines that should go into the video with full customization to play around with.

Then, you have the option to edit, add music, add voice-over, any selected images, videos, the topic, and so on into the video.
Click on ‘Next’.
You get to choose the ratio and style of your video. After that, you can personalize your video however you want to, and there you go!

Publish > Choose Size > Download 👍🏼
Not just that, you can also convert
- Any blog into video,
- Any text into animation,
- Your published blog into animation,
- Any voices to video,
- Talking head video,
- Paste any URL and convert them into a video or an animation.
By leveraging Steve AI’s user-friendly interface & capabilities, L&D professionals can convert their blog posts into engaging video courses seamlessly. Steve.Ai ensures a smooth transition from text-based content to visually enriched learning experiences.
Step 3: Map your content into the Talent LMS
Download your Animaker videos and seamlessly upload them into Talent LMS.
1. Download your Animaker video/GIF: Once your video or GIF is ready, look for the download option on the top right.

2. Choose the Format: Select ‘Download Video’ or ‘Download GIF’ (if your video is less than 30 seconds) format.
Then, choose one of the download options from the below-mentioned options.

3. Choose the File Type: Click on ‘File Type’ under ‘Download Video’. Animaker videos can be downloaded in different formats, including SCORM (Sharable Content Object Reference Model), for seamless integration into Talent LMS LMS.

4. Once chosen the file type > Download
And it's yours!
How to upload your video in Talent LMS
1. Login to the Talent LMS tool or sign up if you don't have an account.

2. Choose from any 4 of these options (from the below screenshot). Since we would want to create a course, we should pick 'Jump right in and create a course' or if you wish to setup your account or take a sample course, you may proceed with the other options.

3. Here's how the dashboard to create your own customizable course looks like:

You can choose the 'Add' option at the top and add any content, video, audio, or document. Since Animaker supports SCORM download, you have the option to upload any of Animaker's files into Talent LMS. Once you set up your course thoroughly, you can see if any more GIFs or (animation) video content is required and plan to create them accordingly using Animaker.
4. You also have template options from which you can choose one and proceed in creating your course.

Animaker's versatility allows organizations to personalize their training content, aligning it perfectly with Talent LMS's open-source ethos. Together, they create an immersive learning environment where animated visuals and Talent LMS's robust functionality harmonize to elevate employee training to unprecedented heights. 😎

Wrap Up:
We're done, but it's time for you to start creating your captivating animated video along with some engaging elements such as subtitles, thumbnails, GIFs, intros, and end cards.
Stand out by crafting your video storytelling adventure!💪
In this blog, we have covered the 3 steps on how to create an animation video using Animaker and use it effectively in your Talent LMS course.
Step 1: How to create Animated video using Animaker
We got straight to the point, but we were also concerned about the other factors that should be included along with animation videos. Creating an animated video is not just enough; your audiences need more - so, let’s do some add-ons:
Step 1.1: How to record your screen by blurring confidential data
Step 1.2: How to create an engaging intro/outro to your course
Step 1.3: How to insert AI automatic subtitles for your animated video
Step 1.4: How to add GIFs to your e-learning courses
Step 1.5: Create thumbnail & banner images using Picmaker’s templates
Step 2: How to convert your texts into animation videos instantly
Step 3: Download your animation videos from Animaker & Upload in Talent LMS
Join the ranks of forward-thinking educators and trainers leveraging Animaker and Talent LMS to revolutionize employee training in the digital age.


