Create Animated Videos for your Adobe Captivate Courses - Find out how!
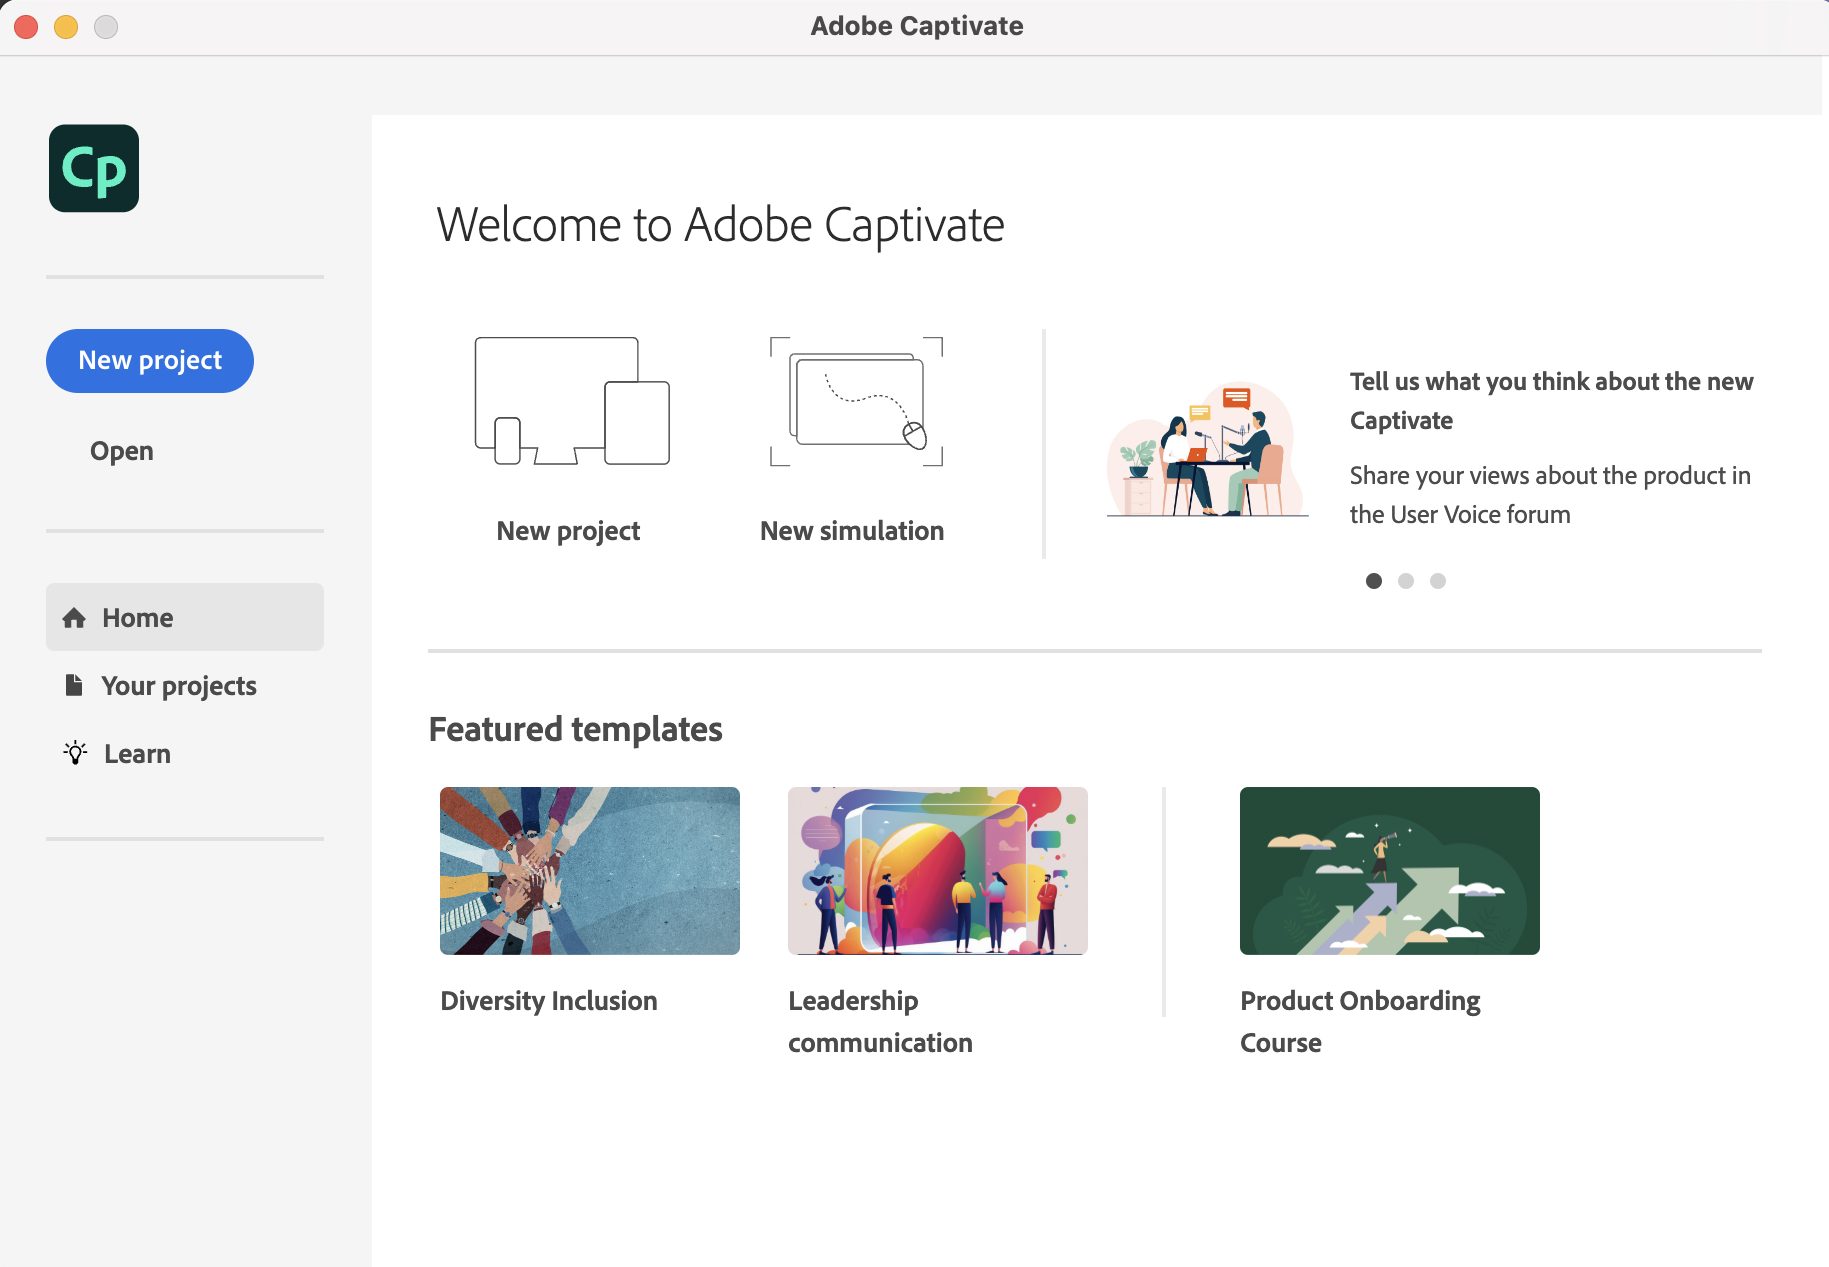
Adobe Captivate stands tall as a comprehensive authoring tool, catering to the nuanced needs of L&D professionals. You can create stunning courses for your learners.
I’m sure your courses will have informative content, exciting facts, interesting data, images, videos, screenshots, and lots of words,
but…
Forbes says, “Viewers retain 95% of a message when they watch it on video”.
Courses built using videos are common, but how exciting and engaging would it be when you insert animated videos into your courses?
Offer your audiences just engaging animated videos that add an extra boost to the ‘normal’ looking video courses!
It’s easy, simple, quick & highly engaging to create an animated video using Animaker.
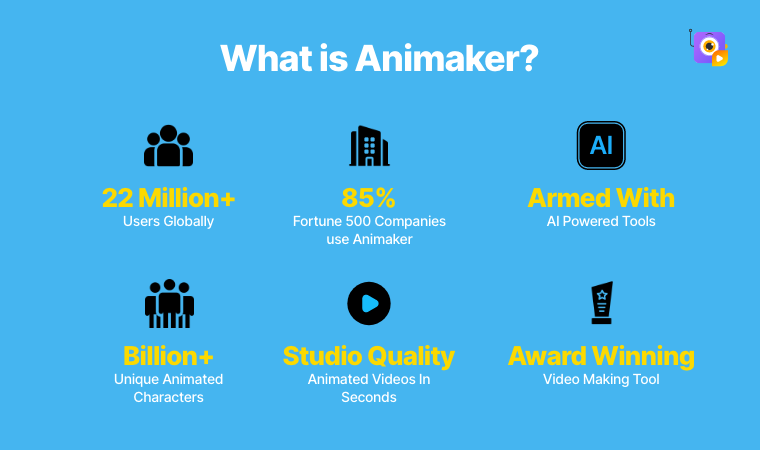
Animaker, renowned for its animation & visual communication prowess, complements Adobe Captivate by infusing courses with visually compelling animated content. Here's how it augments the learning experience:
- Visual Storytelling: Animaker empowers L&D professionals to convey complex concepts through engaging visual narratives, enhancing comprehension and engagement among learners.
- Ease of Creation: With its user-friendly interface, Billions of stock assets in the library, and 10,000+ templates, characters, and voices, Animaker simplifies the creation of animated videos, allowing professionals to focus on content rather than technicalities.
- Increased Engagement: Animated videos inherently captivate audiences, making learning more enjoyable and improving information retention, a significant advantage for L&D professionals aiming for impactful training.
The Synergy: Adobe Captivate and Animaker
When these two powerful tools are used well (having each one’s purpose in mind), they create a synergy that redefines the e-learning landscape.
The combination facilitates the creation of immersive and engaging learning experiences that resonate with today's digitally savvy audience.
Animaker’s animated videos have emerged as the go-to medium for imparting complex information in an engaging, understandable manner. As AI continually evolves, integrating tools like Adobe Captivate with Animaker becomes a game-changer, enhancing the learning experiences of e-learners and employees alike.
Create an animated video and much more using Animaker in 6 simple steps and insert them into Adobe Captivate and develop wonderful courses.
How to Create Animated Videos for Adobe Captivate Courses
1. How to create an Animated Video using Animaker
Step 1: Sign in or sign up if you haven’t got an account with Animaker yet.

Step 2: You will be able to access the dashboard, wherein you can start creating animation videos from scratch.
Animaker also has 10,000+ templates from various domains, concepts, and aspect ratios.

[thrive_link color='purple' link='https://www.animaker.com/templates' target='_blank' size='medium' align='aligncenter']Explore our exclusive animated templates![/thrive_link]
Step 3:
Start creating your animated video from scratch:

Here’s how you create customizable animated videos using Animaker:
If you still have questions about any of our features, feel free to book a demo with us - we’ll get on a quick call to resolve your queries, and hence, you can create your amazing animation video using Animaker :)
[divider style='centered']
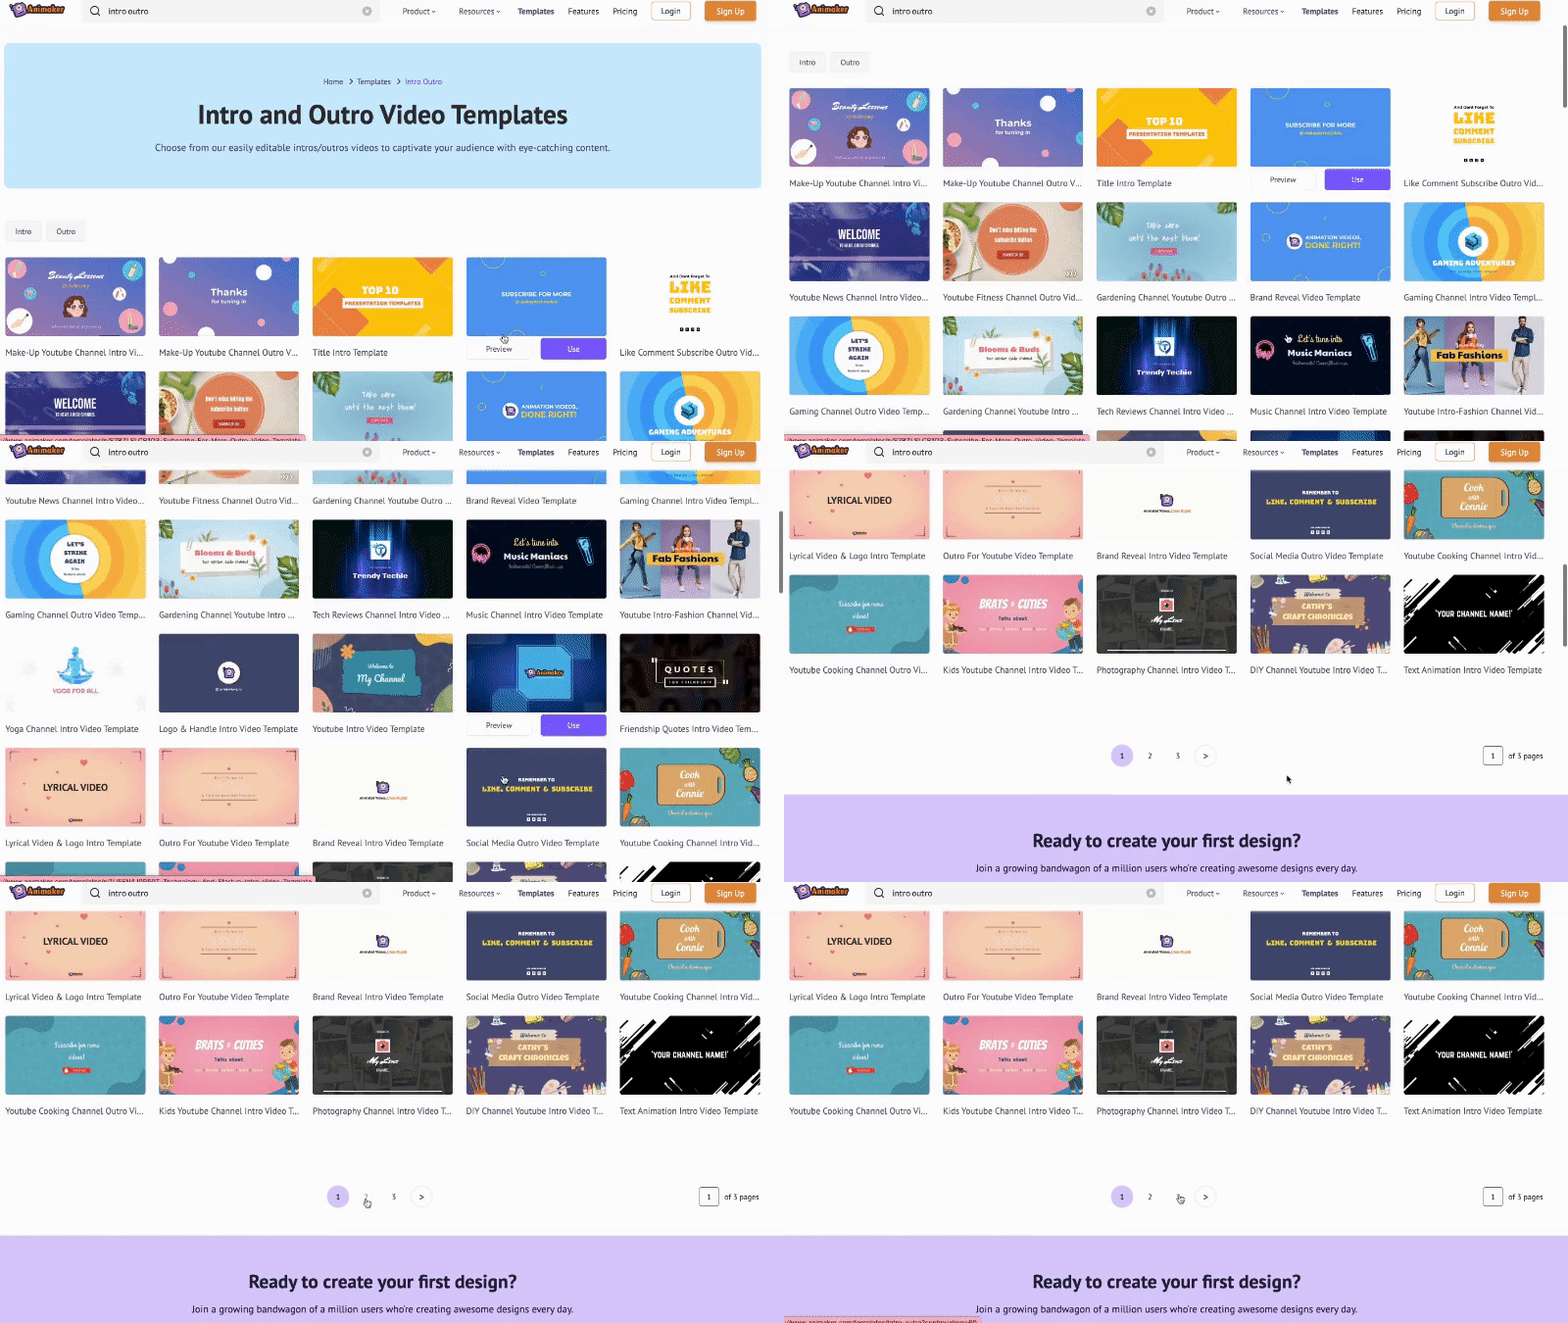
2. How to create an engaging intro/outro to your course
Intros and outros serve as the bookends to a video, offering numerous benefits to content creators and viewers alike.
A well-crafted intro captures attention from the get-go, setting the tone, establishing brand identity, and creating anticipation for the content ahead. It's an opportunity to showcase a logo, tagline, or memorable visuals that immediately resonate with the audience.
On the other hand, outros are a graceful way to conclude a video, providing closure while encouraging engagement through calls-to-action, such as subscribing, liking, or directing viewers to related content.

They enhance the overall professionalism of the video, leaving a lasting impression and encouraging viewers to stay connected.
|
Start customizing your introduction and end cards using Animaker! [thrive_link color='orange' link='https://www.animaker.com/templates/intro-outro' target='_blank' size='medium' align='aligncenter']Access our Intro/Outro Templates[/thrive_link] |
[divider style='centered']
3. Upload subtitles easily & instantly to your animated video
Haven’t tried out Animaker’s AI Subtitle Generator?

Animaker’s AI-driven automatic subtitles feature is a boon for inclusivity. It effortlessly generates subtitles in over 90 languages, ensuring that learners, regardless of their language preferences or hearing abilities, can engage with the content seamlessly.
This feature not only aids comprehension but also caters to a diverse audience base, fostering a more inclusive learning environment.
- Instantly Generate subtitles with Animaker AI
- Format your subtitles like a pro!
- 20+ Cool Animations to spice up your subtitles
- Auto Translate to 100+ Languages
- Manual Subtitling for the Experts!
Maybe, you should give this a shot!
Meet your e-learners' needs seamlessly with Animaker's AI-powered subtitle generator.
Even after downloading the video, you have got the option to ‘Add Subtitles’.
Reach out to us to explore the power of Animaker's AI Subtitle Generator!
DID YOU KNOW...You can record your screen while blurring the sensitive data simultaneously.
Here’s what we’ve got you covered – Try Vmaker. [thrive_link color='orange' link='https://www.vmaker.com/' target='_blank' size='medium' align='aligncenter']Explore the effortless screen recording tool[/thrive_link] |
[divider style='centered']
4. Introducing GIFs to your e-learning courses
GIFs inject dynamism into e-learning materials.
With Animaker, integrating GIFs into your content is simple. Its extensive GIF library covers a spectrum of topics, allowing L&D creators to add contextual and illustrative GIFs that supplement the learning process.

Crafting engaging and professional GIFs for Adobe Captivate courses is a breeze with Animaker. These interesting small snippets enhance engagement and retention, making complex concepts more digestible for learners.
You can either create your own GIF (when the video is less than 30 seconds) or try out our existing GIFs using Animaker.

Transform your e-learning narrative with Animaker's GIF magic, turning every lesson into an immersive journey!
[thrive_link color='orange' link='https://app.animaker.com/moments?tag=GIFs%2FMeme' target='_blank' size='medium' align='aligncenter']Explore our collection of GIFs[/thrive_link]
[divider style='centered']
5. Create thumbnail & banner images using Picmaker’s templates
Visual appeal matters. Creating an eye-catching banner image or thumbnail for your course is instrumental in attracting learners.
Explore Picmaker now!

Picmaker empowers users with customizable options, allowing them to design attention-grabbing visuals that entice learners to explore the course content further.
[thrive_link color='orange' link='https://www.picmaker.com/' target='_blank' size='medium' align='aligncenter']Start exploring your customisable Designs[/thrive_link]
[divider style='centered']
Pro Tip:
Convert any of your blog content into an amazing (customizable) video using AI instantly!
Transforming written content into a video course is simplified with Steve.ai.

On the section ‘Blog to Video’, paste the link of the blog and click ‘Proceed’.
You have the choice to choose the lines that should go into the video with full customization to play around with.

Then, you have the option to edit, add music, add voice-over, any selected images, videos, the topic, and so on into the video.
Click on ‘Next’.
You get to choose the ratio and style of your video. After that, you can personalize your video however you want to, and there you go!
Publish > Choose Size > Download 👍🏼
By leveraging Steve AI’s user-friendly interface & capabilities, L&D professionals can convert their blog posts into engaging video courses seamlessly. Steve.Ai ensures a smooth transition from text-based content to visually enriched learning experiences.
[thrive_link color='orange' link='https://www.steve.ai/' target='_blank' size='medium' align='aligncenter']Try Steve.AI now[/thrive_link]
6. Map your content into Adobe Captivate
Step 1:
Download your Animaker video/GIF - Once your video or GIF is ready, look for the download option on the top right.

Step 2:
Choose the Format - Select ‘Download Video’ or ‘Download GIF’ (if your video is less than 30 seconds) format.
Then, choose one of the download options from the below-mentioned options.

Step 3:
Choose the File Type - Under the ‘File Type’ option, there are more than a couple of options to choose which include the SCORM (Sharable Content Object Reference Model) format as well.

Once chosen the file type > Download
And it's yours!
[divider style='centered']
How to upload your video in Adobe Captivate
Download Adobe Captivate software > New Project

You get to see a blank page > Click on ‘Add Media Blocks’ > Slide Video > Click on it.

You get an image loaded automatically, in which you can find an ‘upload video’ option in the middle. (Please zoom a little bit if you find it so tiny :P)
Click on the ‘System’ > upload the downloaded Animaker video.

Done, done done!
Unlock the magic of engaging your audiences with this wonderful integration - Animaker X Adobe Captivate.
[divider style='centered']
Ready to create animated videos for your Adobe Captivate course?
The synergy between Adobe Captivate and Animaker heralds a new era in e-learning. Embracing this collaboration amplifies the potential for creating immersive, engaging, and effective learning experiences. As the digital landscape evolves, leveraging AI-powered tools like Animaker within Adobe Captivate empowers L&D professionals to craft impactful courses that resonate with learners across the globe.
As we step into this future, let's harness the power of AI-driven animation to revolutionize how we impart knowledge. Start creating, engaging, and transforming learning experiences today!
Ready to unleash the power of animated videos in your e-learning journey?

Try Adobe Captivate with Animaker and revolutionize your training approach!
Wrap Up:🎉
We're done, but it's time for you to start creating your captivating animated video along with some engaging elements such as subtitles, thumbnails, GIFs, intros, and end cards.
Get on a transformative e-learning journey by seamlessly integrating Animaker’s animated videos into Adobe Captivate.
Stand out by crafting your video storytelling adventure!💪
We also covered on how animated content impacts retention, simplifies complex ideas, and increases engagement in course creation. Check out the 6-step guide on seamlessly integrating Animaker’s animated videos into Adobe Captivate, which includes
- Creating an Animated Video using Animaker: Use Animaker to craft customizable animated videos from scratch or explore its vast template library.
- Creating an engaging intro/outro to your course: Elevate your course by designing captivating beginnings and impactful conclusions with Animaker’s diverse templates.
- Upload AI Subtitles: Use Animaker’s AI Subtitle Generator to create automatic subtitles for your video in 90+ languages.
- Integrating GIFs: Transform mundane content into engaging material by incorporating professional GIFs using Animaker.
- Create captivating banner images & thumbnails: Use Picmaker to create valuable, intriguing, and creative banners or cover images and thumbnails for your e-learning courses.
- Uploading into Adobe Captivate: Download completed Animaker videos/GIFs and seamlessly insert them into Adobe Captivate.
Bonus: You can convert your blog into an engaging video instantly! Click here!
[thrive_link color='purple' link='https://app.animaker.com/enterprise?utm_source=Enterprise+Blog&utm_content=Create+Animated+Videos+for+your+Adobe+Captivate+Courses' target='_blank' size='medium' align='aligncenter']Book a Demo to get expert advice on Animaker + Adobe Captivate[/thrive_link]


